As a veteran user of Onshape, I’m compiling this short write-up to offer some suggestions to help you get started. I’m a middle school STEAM teacher at De Portola Middle School in San Diego and a Learning Design Tech Lecturer at San Diego State University.
If you are new to Onshape, use it already in the classroom, or are just curious about how 3D modeling looks in education, here are my top tips and advice on best leveraging cloud-native CAD.
Use the Onshape for Education Enterprise Plan
One of the best things about Onshape for Education is the Education Enterprise plan, which has a ton of options and tools that make your life as an educator much easier.
The Enterprise plan allows you to do real-time data tracking of your students, access their coursework, assign projects, and create courses by section with groups as teams for collaboration. Onshape also allows you to use a single sign-on (SSO) to get your students right into Onshape without hassle in just a few clicks.
Explore Onshape Teaching Resources
Finding the right projects can be tedious and challenging, especially when you are new to CAD or have less experience teaching engineering and other STEM subjects.
Fortunately, Onshape has your back!
With a whole intro course, the Onshape Learning Center includes projects with complete instructions tailored to students from all backgrounds. Students can learn how to create a skateboard, collaboratively design a pull copter, and prepare to become certified Onshape users by taking the Onshape Associate Exam. The Onshape lessons are so well crafted that I completed an assembly of a skateboard while seamlessly learning alongside my sixth-graders.
Incorporate Onshape into the Classroom
Many teachers struggle with using Onshape as an instructional tool. I can remember when I first started, live demonstrations went sideways, and sometimes I'd get lost or have a disruption in class that derailed my instruction.
To solve those issues, I began using screencasts instead of presenting live, which changed everything for me. Now, I can walk the room, motivate and help students who struggle, and have them work with partners – allowing them to find success together as they watch videos at their own pace.
You can't rewind a live lecture, but you can watch a screencast as often as it takes until you get every click and detail right. Also, YouTube videos and Onshape webinars can be added to Google Slides and cropped or converted into GIFs.
When you step away from the direct instruction method, you free up your ability to help as needed, when needed, and everybody crosses the finish line a little faster this way.
 Did you know you can embed your own videos within Onshape Documents? Check out this example.
Practice Makes Perfect for Educators and Students
Practice your workflow and document how you plan to use Onshape with additive/subtractive manufacturing machines, like 3D printers, CNC machines, and laser cutters.
A lab of 3D printers you have tested and dialed in with your preferred slicer is ideal before you launch any projects. It is advisable to have the required software, like Prusa Slicer, on student devices or lab computers. However, with Chromebook users, that gets tricky.
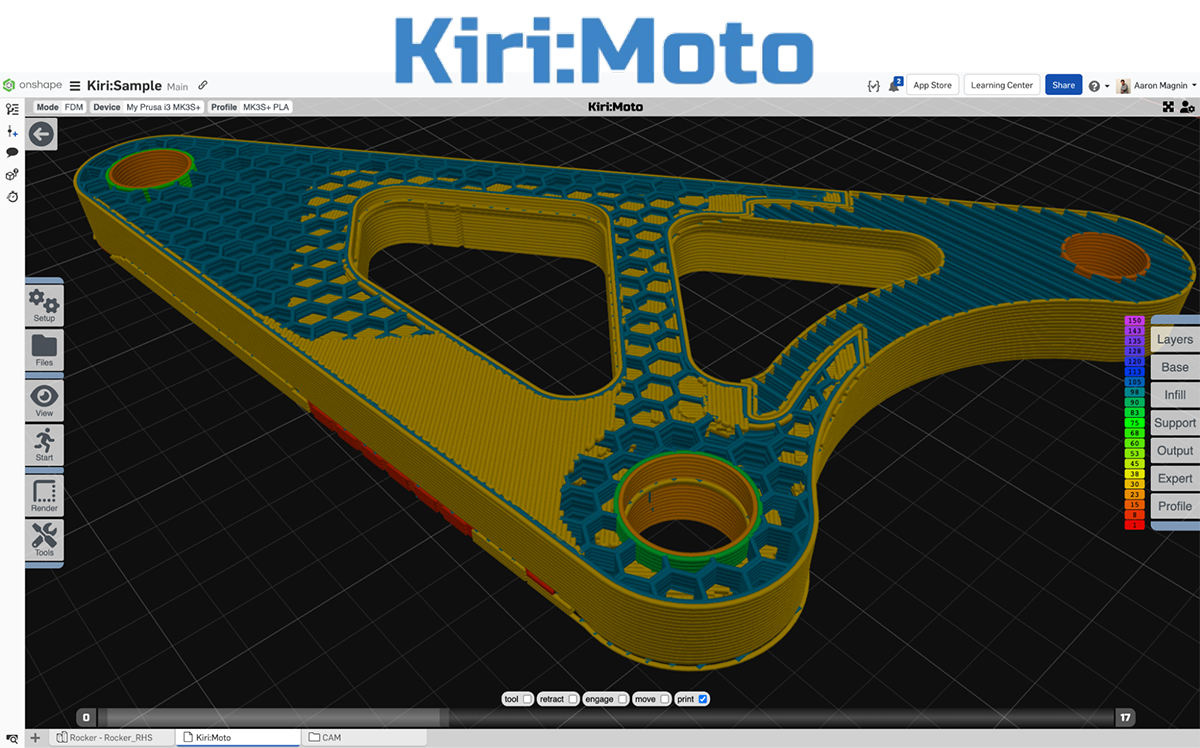
Try out Kiri:Moto, an add-on that works within Onshape. I’ve had great success setting up prints using my Chromebook and Kiri:Moto while at home watching TV. Kiri:Moto is a very easy-to-use slicer with all the options you need. No downloads are required.

Network with Other Onshapers!
Connect with Onshape power users on your favorite social media platform (I am on X/Twitter, @KevinWhiteSD) and engage with the Onshape community through the Onshape Forums and the Onshape User Group Network.
While I’ve successfully connected with others via social media, the Onshape team also provides these channels to build connections and give support and resources to their users, so my goal this year is to contribute and share more than ever! I hope to meet you there!
The Educator's Onshape User Group
The Onshape Educator's User Group is a valuable resource for anyone looking to enhance their teaching with this powerful, free, browser-based tool.


