Custom tables gather and display information about an entire Part Studio. They are built in a Feature Studio similar to custom features. Examples of data could be custom properties, mass data, or important information provided by a custom feature, such as the wiring data from the Cable/Wire Routing feature.
Adding Custom Tables to a Part Studio
In most cases, the custom table has to be applied to the Part Studio first, before you can display its information in a drawing.
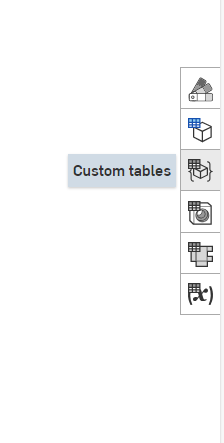
In a Part Studio, click the Custom tables icon to the right of the graphics view.

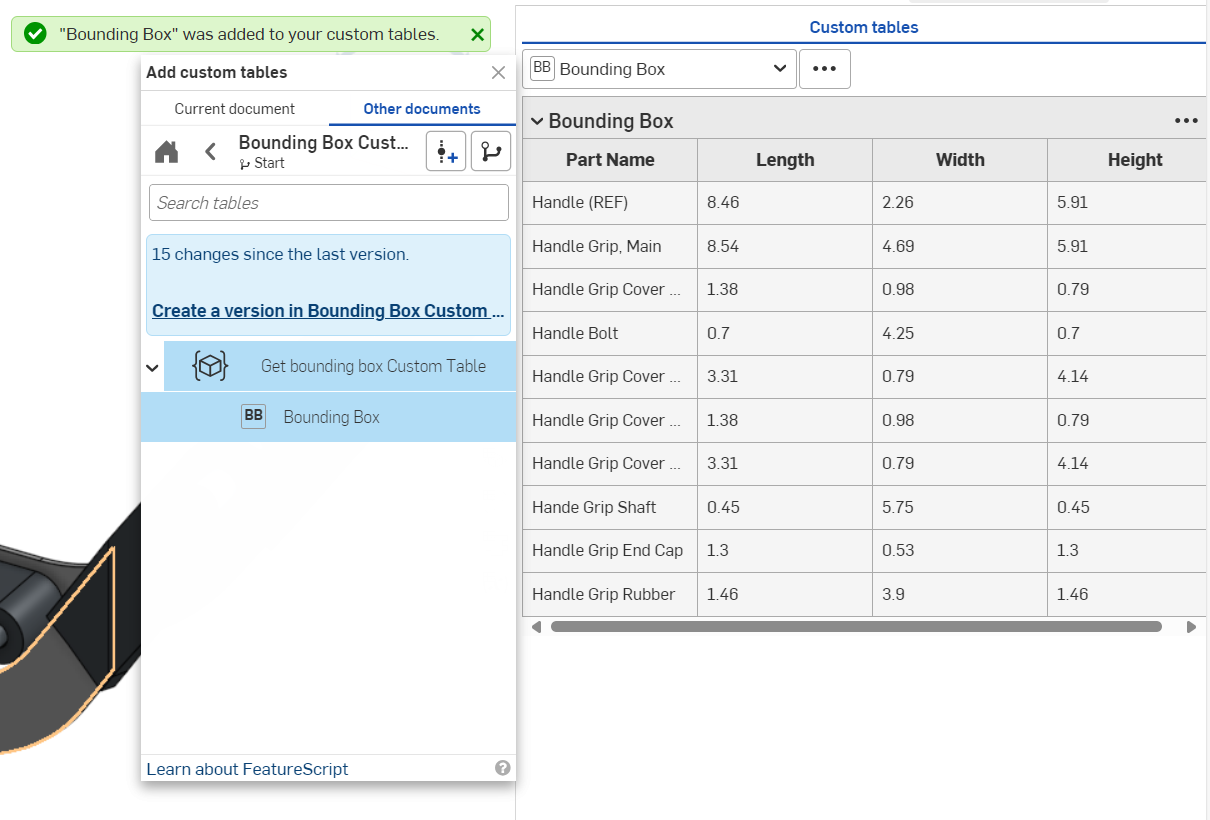
Click the Add custom tables button in the panel and navigate to the corresponding Feature Studio that contains the custom table. Once selected, the custom table appears in the panel.

Insert a Custom Table into a Drawing
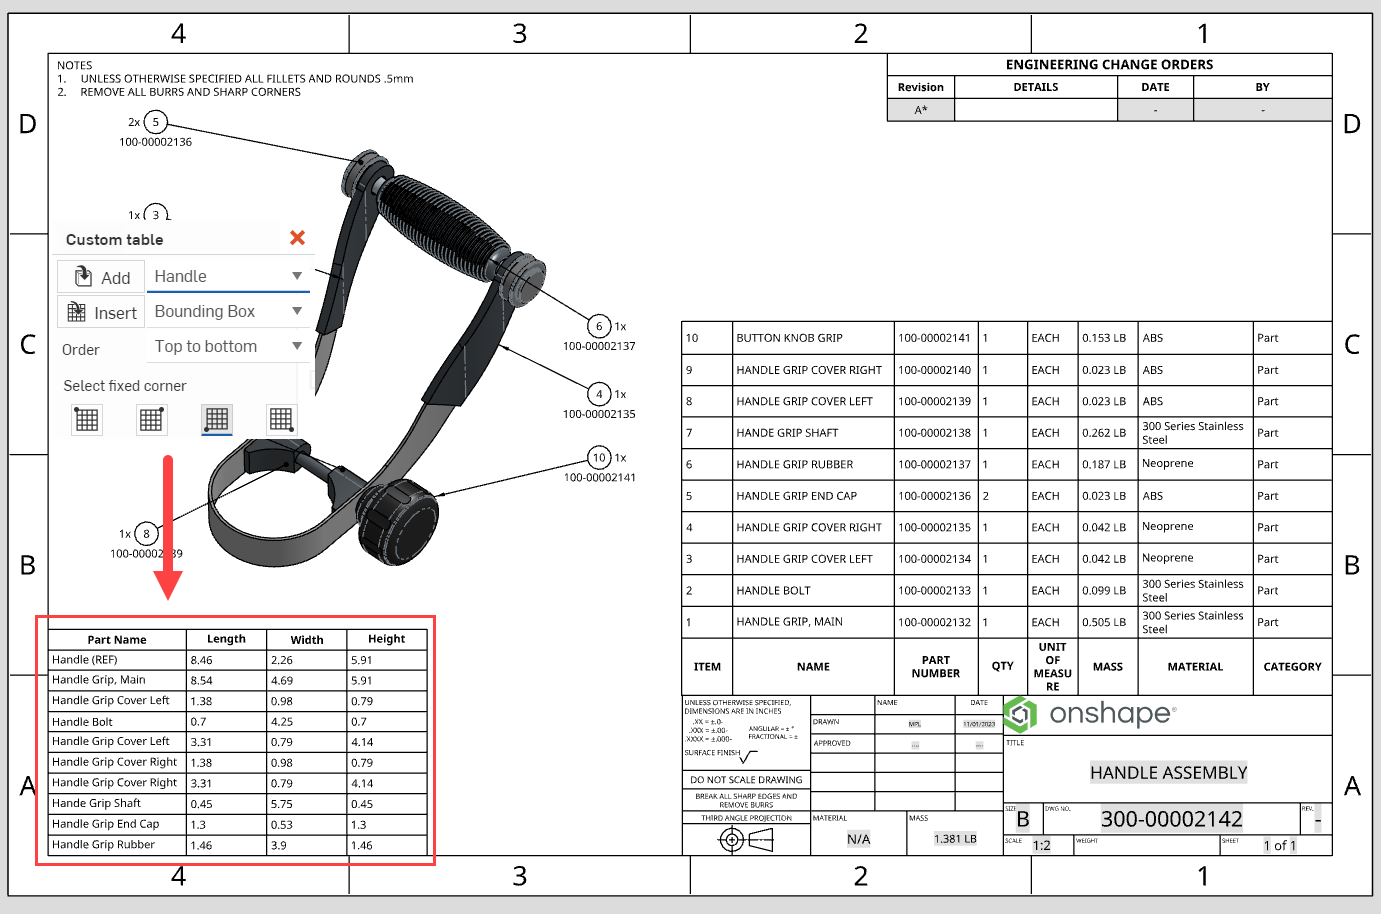
In a drawing, click the Custom table icon to insert a new table. Select a Part Studio to populate the table. Part Studios already in the drawing appear in the dropdown, but you can click the Add button to select a Part Studio outside of the drawing. Click the Insert button to select a new custom table or select an existing table from the dropdown.

This Tech Tip helped you learn how to insert custom tables into drawings. Learn more about how to create your own custom tables in this Tech Tip.
Interested in learning more Onshape Tech Tips? You can review the most recent technical blogs here.

