2:28
Today’s tech tip is not about dating advice.
It’s hard to imagine designing something perfectly the very first time, so we often find ourselves editing assembly mates after their creation. But once you’ve put dozens or even hundreds of parts together, it can be difficult to locate the exact mate feature you’d like to edit. In this tech tip, we’ll look at two different ways to quickly find the mate you’re looking for.
Method 1: From One of the Parts
A mate is, of course, between two parts, so let's start by finding one of the two parts.
By right-clicking on the part (from either the instance list, or the graphics area), you can select “Show Mates.”
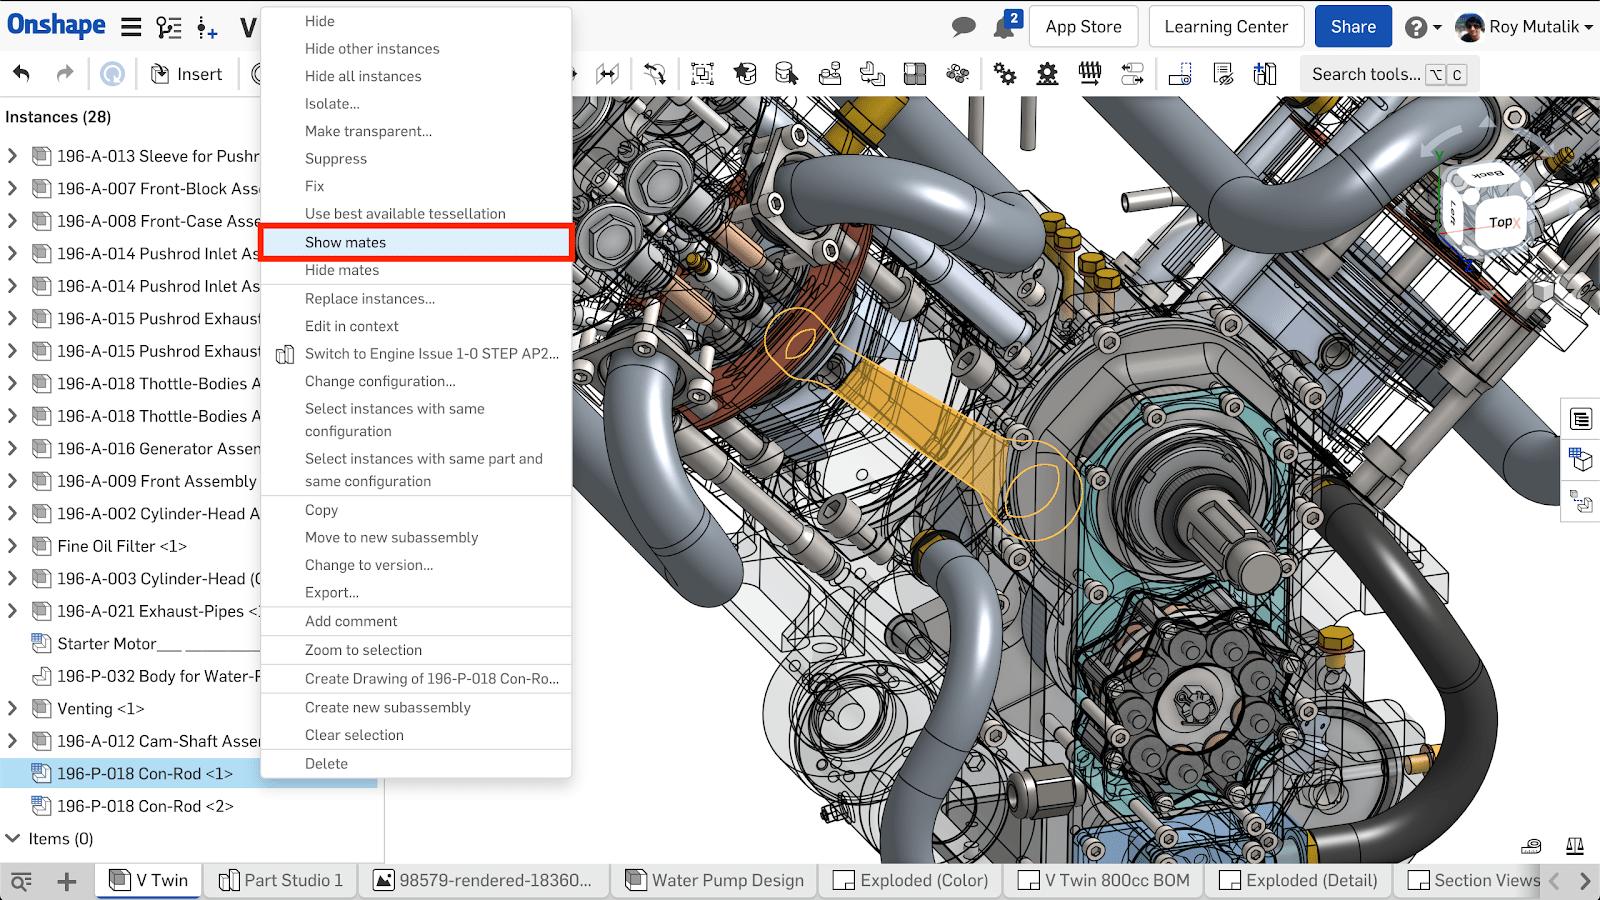
Notice the icons for any mate features that exist for that part now show on screen. You can select the appropriate mate icon directly from the graphics area, and it will cross highlight the feature in the mate features list.
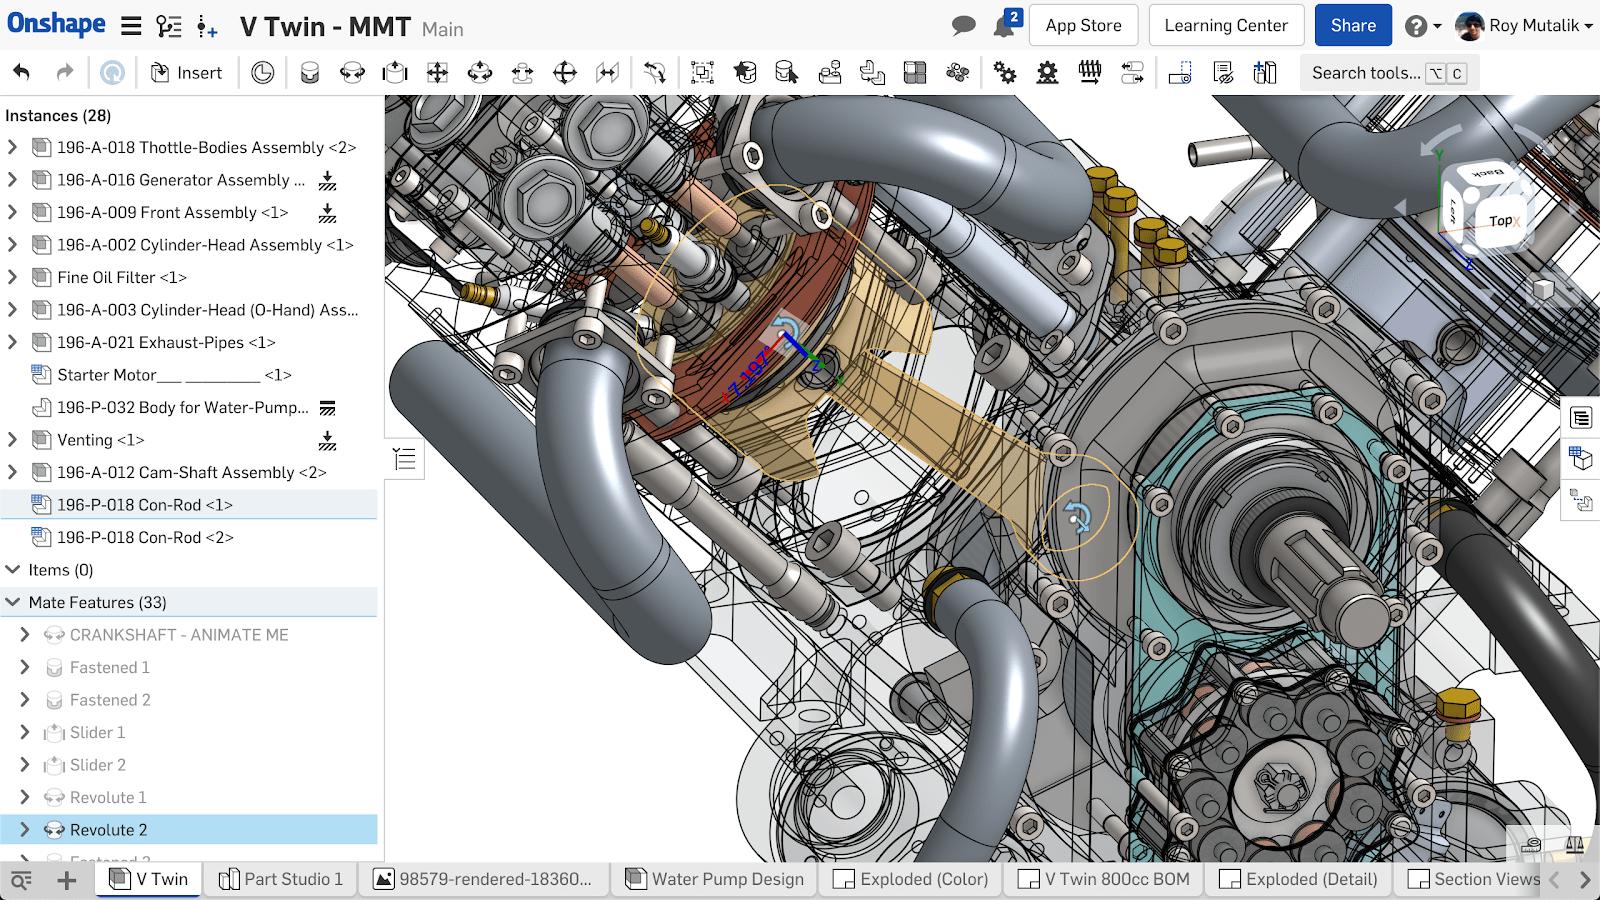
You can right-click and choose to edit the mate feature to change it how you wish.
The mates for that part were “shown,” but you will notice the icons will persist on screen even after you’ve completed your edit. If you’d like to hide them again, you can use the “J” shortcut.
The “Show Mate” feature will show all mates for a selected item, regardless of what level they exist at. This is important to remember with parts because you might find that the mate you wish to edit (and which shows on-screen) was actually defined in a subassembly. If you want to see only the mates constraining the subassembly to the top level, make sure you “Show Mates” for the subassembly by selecting it in the instance list.
Method 2: Show Mates Mode
In a recent Onshape release, a new feature was added that allows you to dynamically hide and show mates on screen. This can be used to find the right mate between two parts.
To begin, turn on the Show Mates Mode by selecting the feature on the assembly toolbar (or using the keyboard shortcut “H”).
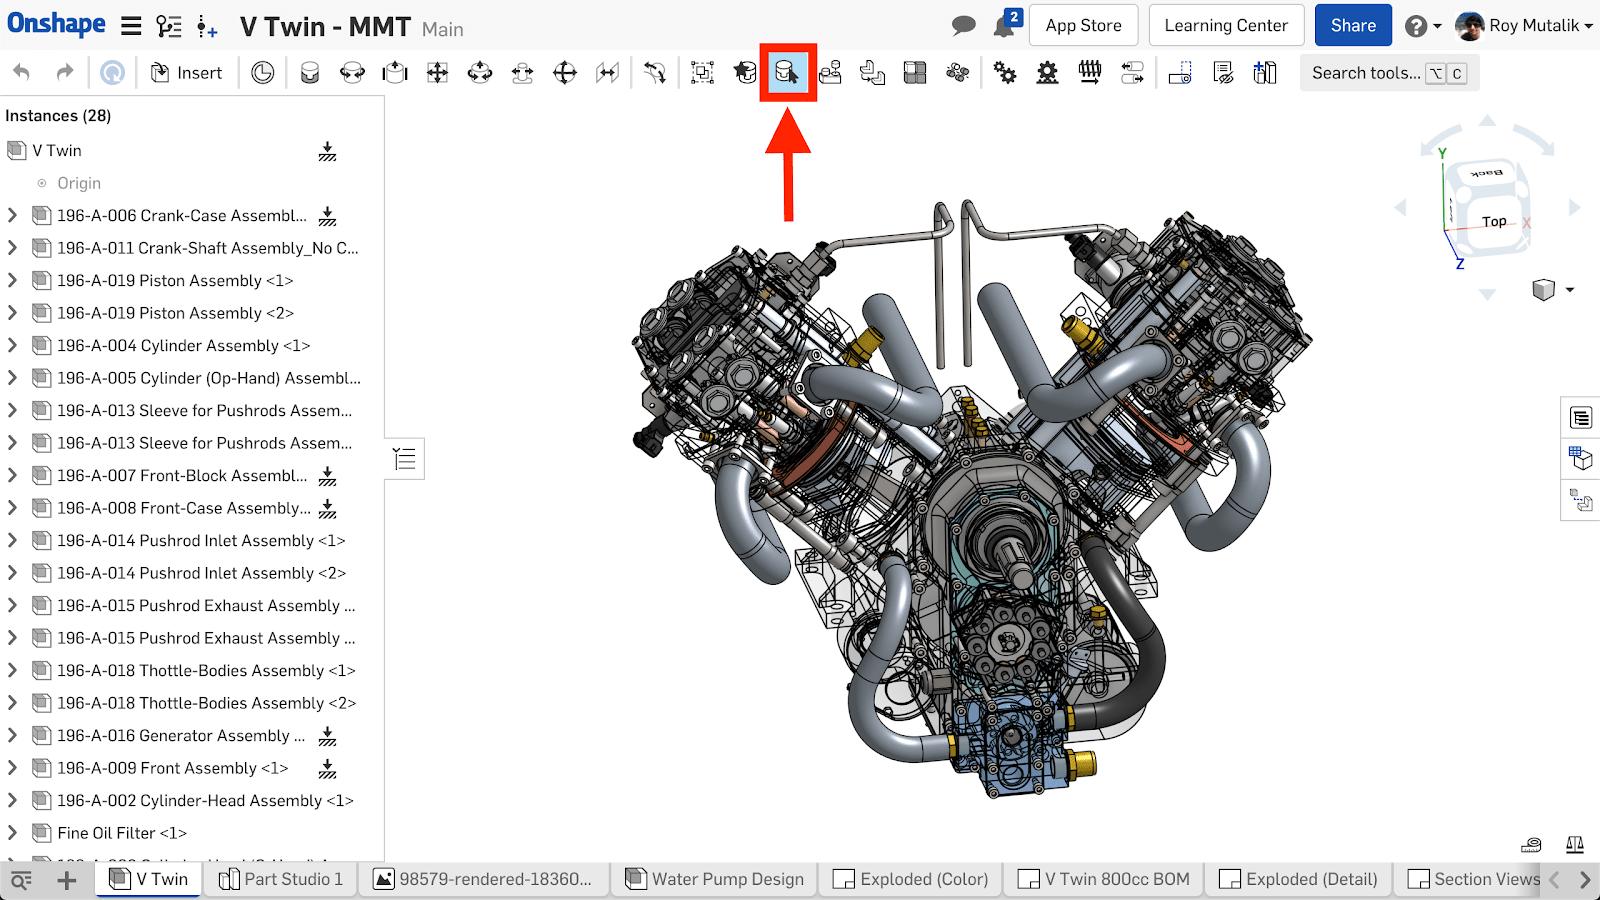
With Show Mates Mode active, while mousing-over a part (in the graphics area, or the instance list), you will see the mate icons on screen similar to if you had right-clicked, and selected “Show Mates.”
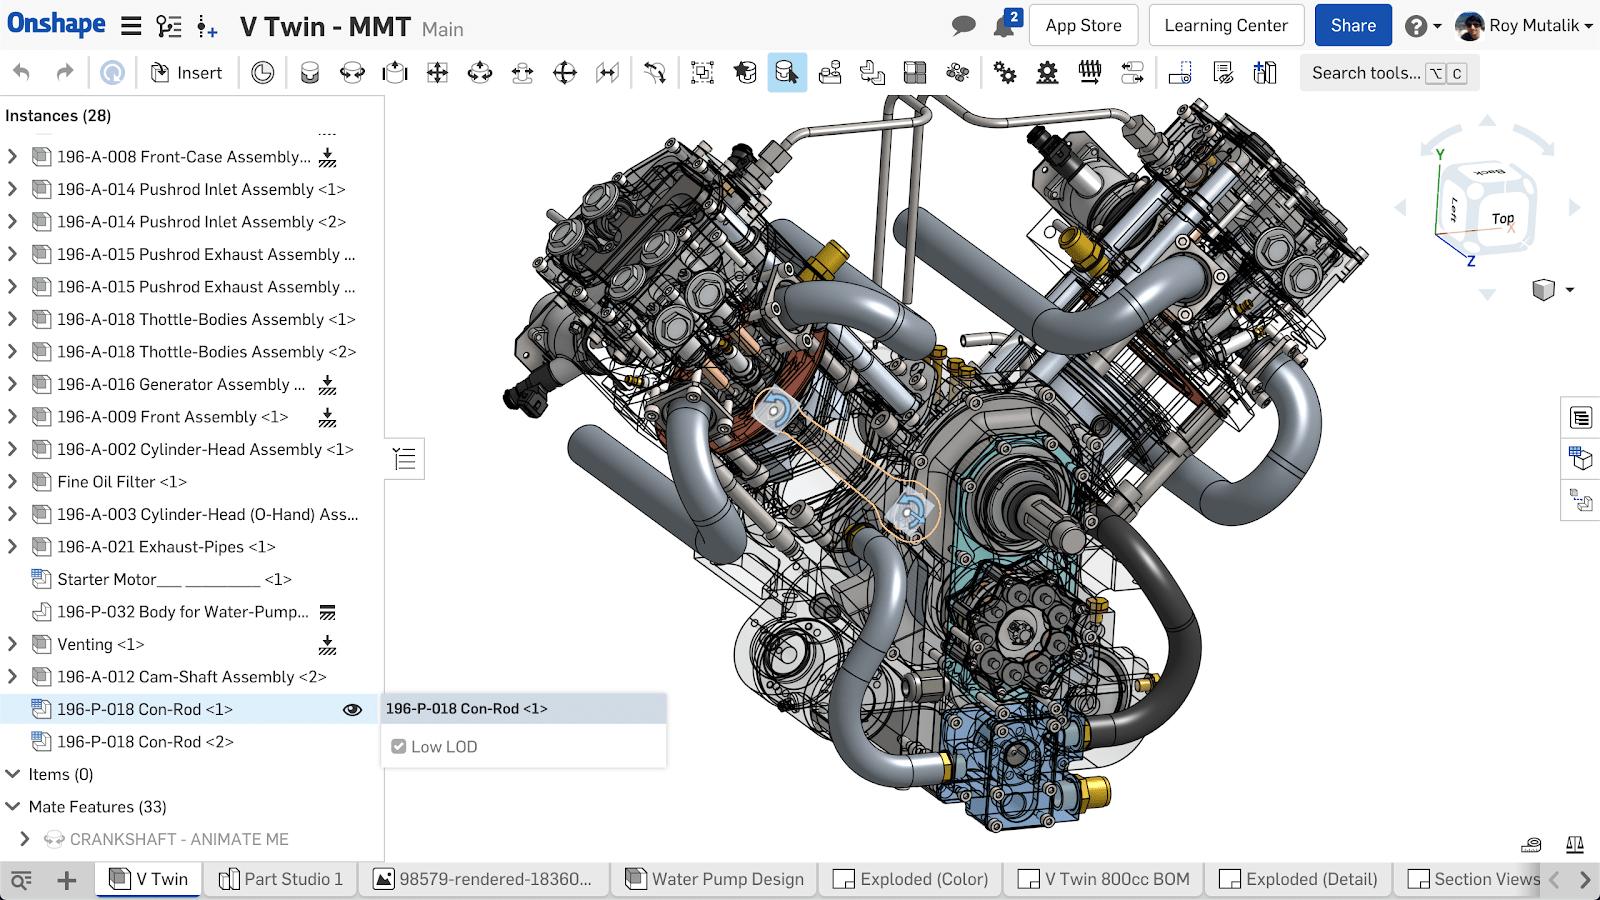
If you actually click on a part, the mate icons persist on screen. You may select a mate to cross-highlight it in the instance list. However, as soon as you deselect the part, the mate icons will automatically hide.
The same behavior is true for Show Mates Mode with regard to subassemblies and parts. Mousing-over a part will show all the mates that exist in that part, regardless of the subassembly level. If you wish to see only the mates for the subassembly, you must mouse over the subassembly in the instance list.
Interested in learning more Onshape Tech Tips? You can review the most recent technical blogs here.
Latest Content
- Blog
- Becoming an Expert
- Assemblies
- Simulation
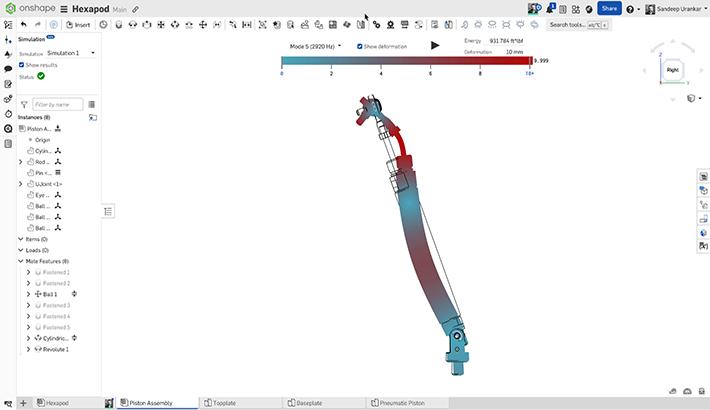
Mastering Kinematics: A Deeper Dive into Onshape Assemblies, Mates, and Simulation
12.11.2025 learn more
- Blog
- Evaluating Onshape
- Learning Center
AI in CAD: How Onshape Makes Intelligence Part of Your Daily Workflow
12.10.2025 learn more
- Blog
- Evaluating Onshape
- Assemblies
- Drawings
- Features
- Parts
- Sketches
- Branching & Merging
- Release Management
- Documents
- Collaboration
Onshape Explained: 17 Features That Define Cloud-Native CAD
12.05.2025 learn more


