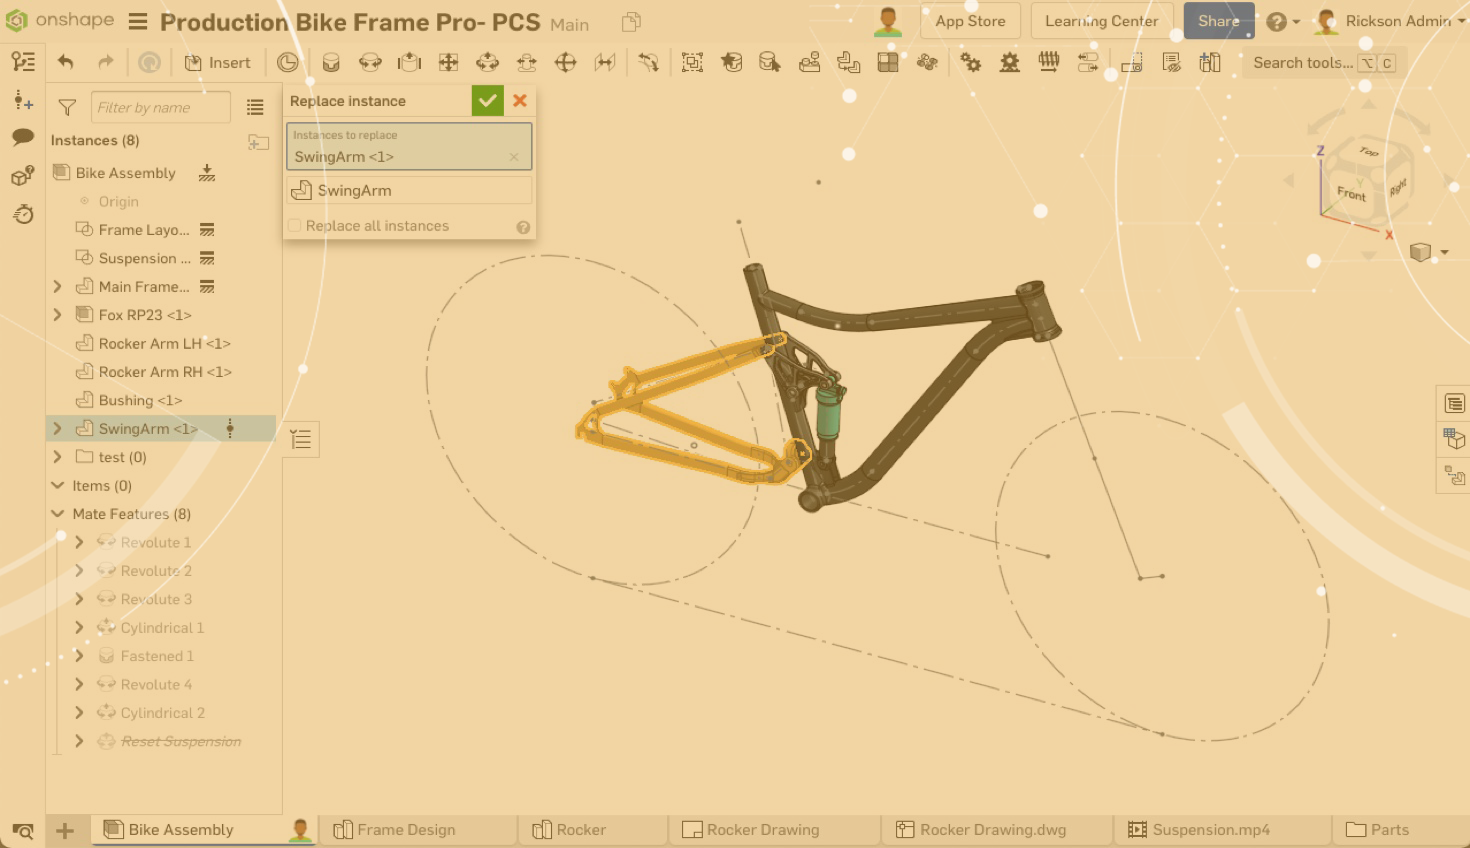
Today’s Tech Tip will focus on using the Replace Instance feature to replace instances within the instance list.
The Replace Instance feature allows users to replace selected or all similar instances of a part, surface, sketch or subassembly within an Onshape Assembly while also reapplying the previously associated mates of the replaced component.
To replace an instance in the instance list, select the instance then right-click on the instance to access the context sensitive menu. Then select Replace Instances.

The Replace Instance dialog appears and displays option fields for Instances to Replace and Select Replacement Component.
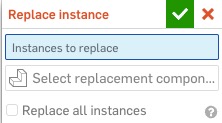
Select inside the Instance to Replace option and choose an instance from the instance list.
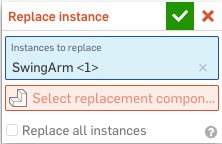
Next, select inside the Select Replacement Component field to access the Select Replacement Component dialog. Within the dialog, you have the ability to use the search toolbar, Part Studio and Assembly filters, revisions, versions or branch workspaces to browse for replacement components within the current Document or other Documents.

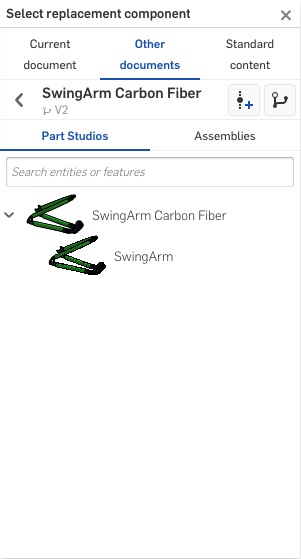
Once the replacement component is selected, the Select Replacement Component field within the Replace Instance dialog populates. If you are replacing multiple instances of the component within the Assembly, select the Replace All Instances check box. If the replacement of a single component is desired, leave the check box unchecked.
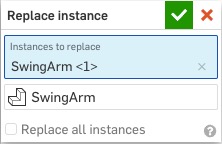
To accept the changes and exit the dialog, select the green check mark. To cancel the changes and exit the dialog select the red X button. The replacement component will display within the instance list and graphics area.
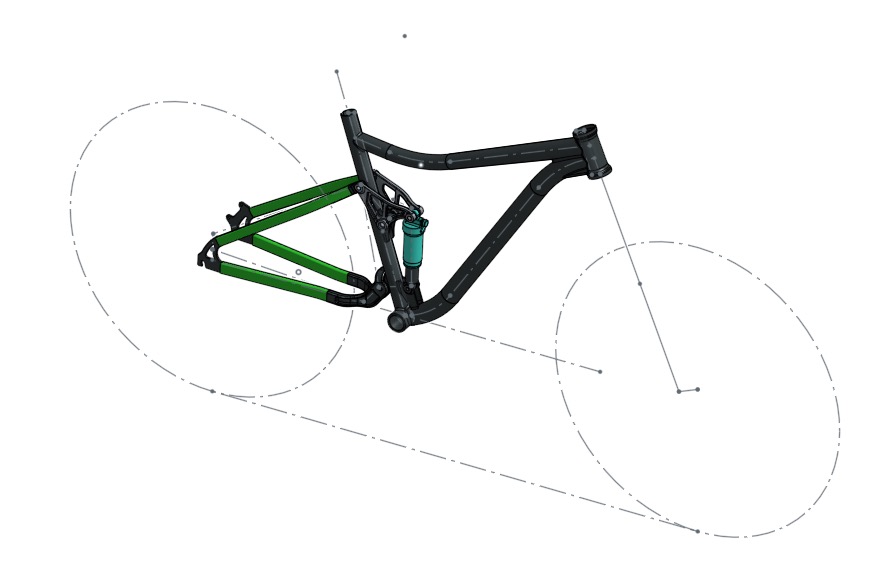
Utilizing the Replace Instance feature to replace an instance or multiple instances of the same part or subassembly within the Assembly tab helps to streamline your design workflow and reduces the need to manually insert and reapply the mates of components.
Learn more about this topic by watching the video below.
Interested in learning more Onshape Tech Tips? You can review the most recent technical blogs here.
