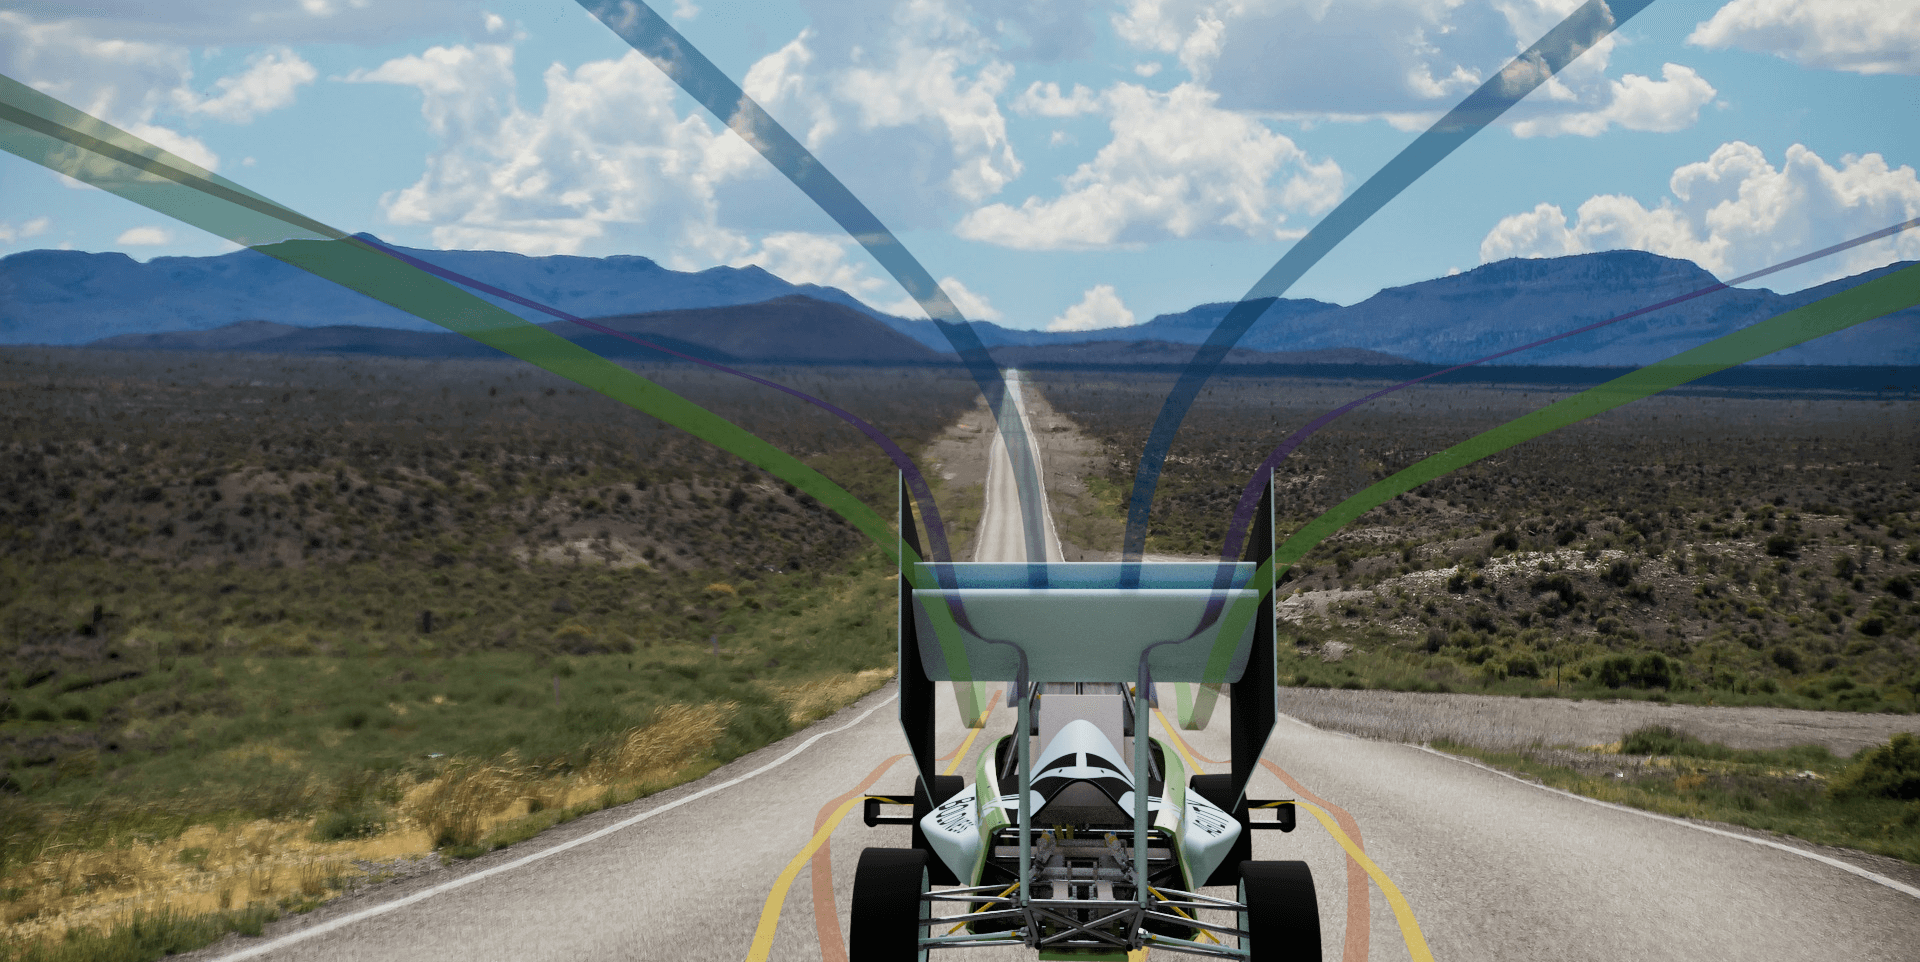
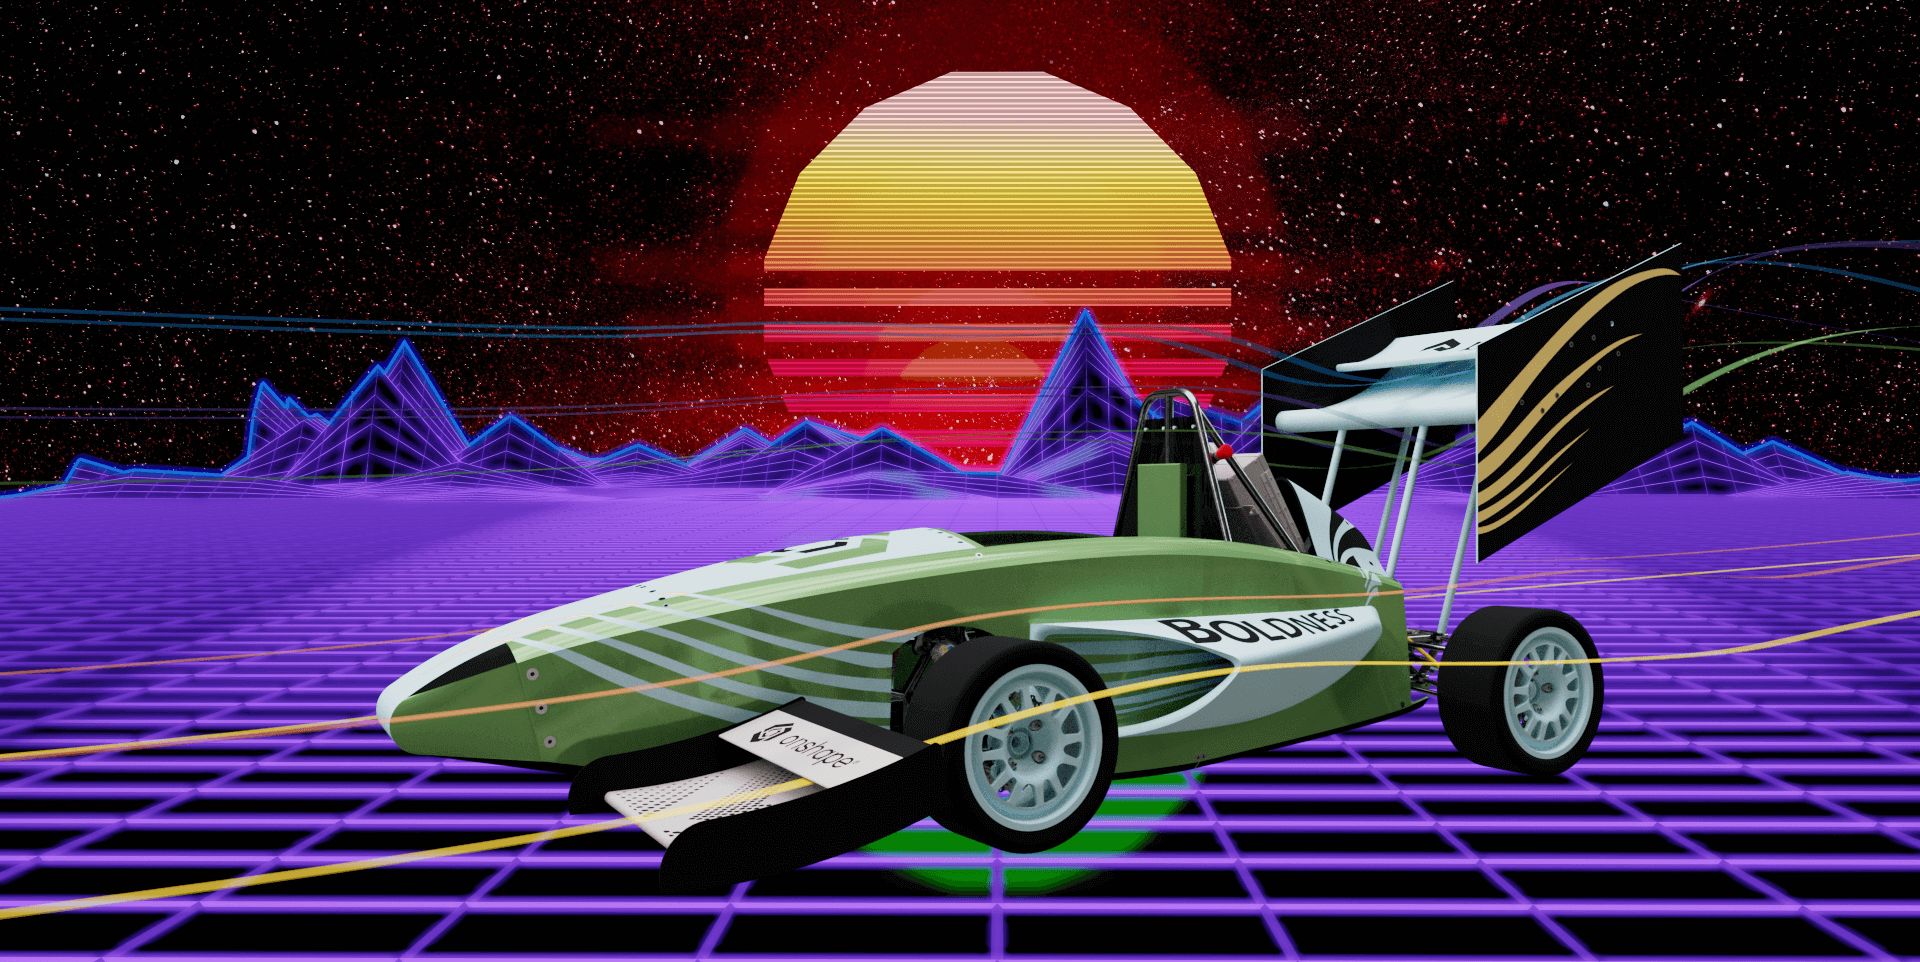
Vroom, vroom, am I right?
I just can’t get enough of this FSAE car model the Onshape Education team built for our annual internal design competition, which won the Judges’ Choice Award for Assembly Design.
Inspired by team member’s experience with Formula SAE, Baja SAE, Formula Student, and Shell Eco-Marathon, the CAD model also served as an educational tool to show educators and students how to best leverage Onshape tools and resources. If you’re researching how to get your collegiate racing team started with Onshape, check out this blog.
But if you’re like me, a nosy Nancy, hear from the Onshape Education team themselves about what it took to build an FSAE car with a large team.
What Was Your Role in Building the FSAE Car?
Dave Lapthorne, Education Technical Services Engineer: Front-lower control arms. These were designed using a combination of parametric solid modeling and surface modeling.
Matthew Mueller, Digital Transformation Engineer: I worked on the seat and driver positioning for the car. This first involved sketching out the templates for the driver to make sure the design adhered to all safety requirements. Then I used in-context modeling to ensure that the seat would connect to the chassis in the right places and fit the driver.
Jordan Cox, Senior Vice President of Academic Programs: I was responsible for the design of the body of the car including the aerodynamic analysis. I also provided designs for any of the extraneous parts that needed design work, like the front and rear uprights for the suspension.
Domenico DiMare, Education Applications Engineer: I led the team, organizing who was working on which systems, making sure tasks got completed, and helping members find resources to inform their work. I also worked on the suspension, designing the general geometry and rear components.
How Many Hours Did You Put Into It?
Matthew: Onshape is showing that I had the Document open for just over 30 hours!
Jordan: I spent over 65 hours on the FSAE car.
Domenico: Onshape Analytics show I spent about 60 hours. Almost as much as Jordan!
Why an FSAE Car Model?
Matthew: This is one of the more complex mechanical design competitions for education audiences and our team used it as a great opportunity for us to explore a complex design problem collaboratively.
Jordan: We wanted to try out Onshape’s collaboration capabilities in a complex design project to help us build curriculum and best practices. We also wanted to create an FSAE car model that we could use to show teams that Onshape was capable of designing an FSAE car.
Domenico: What Matt and Jordan both said is definitely true. I also just love cars, racing, and am an alumnus of Baja SAE and Formula SAE so the project was extra special to me.

What Was Fun About This Project?
Matt: Collaborating with the team and learning about all of the different ways to use data in Onshape to make a complex design come together in one assembly.
Jordan: Watching it come together from so many disparate efforts. Everybody had their assignments and went to work independently. It was very exciting to see the separate parts coming together so effortlessly in contrast to what we had previously experienced in other CAD tools.
Domenico: I really enjoyed the challenge of designing an in-board rear suspension and using sketches in assemblies with kinematic mates to test geometry before designing the actual components.
What Were Some Challenges?
Jordan: The biggest challenge was the coordination of the work. We didn’t really use an “Agile” approach and so people were attacking the problem in a variety of ways, some of which were not very efficient in terms of computer response time, and soon the document was very slow to respond. Having a tool like Onshape is necessary but not sufficient to implement the collaborative design. You also need to have a process that everybody follows.
Dave: Learning the nuances of Surface Modeling in Onshape as compared to the other CAD packages I have worked with in the past
Domenico: It took a lot more time than I expected helping members who have less experience with cars. There are a lot of different mechanical systems in cars and they can be designed in many ways so it took a while to get members who weren’t familiar up to speed on the interdependencies.

Which Onshape Tools Were the Most Useful?
Matthew: In-context modeling is such a powerful tool for making sure that the parts you design fit exactly into the right place in the assembly and allows you to update the context as other parts in the assembly change to parametrically update your part.
Jordan: In-context modeling was one of the most powerful tools. It allowed each team member to design their particular parts in reference to the main car frame. It ensured that everything would fit. Live collaboration that allowed everyone to be in the same document also was very powerful in making sure we were working on the same designs and versions of those designs. Many of the team members used branching, which allowed them to work on several design ideas before merging them back into the main design. The aero analysis ended up being fairly straightforward and not that difficult to accomplish using a third-party app.
Dave: Being fully cloud-native the collaboration tools were invaluable. I was able to branch my own design out and work on my parts while traveling in Australia even though the rest of my team were based in the U.S.
Domenico: In-context modeling, Branching and Merging, and real-time collaboration were all essential so that team members could design top-down and quickly iterate. I was also surprised by how useful commenting in Onshape was. Besides adding a text comment, I was able to tag the specific geometry of parts, draw the changes I’d like made, and tag the member who I wanted to make the change all within Onshape. This definitely sped up the feedback cycle and helped us complete the project in a short time span.
Get Started with Onshape Education
Onshape for education brings CAD out of the computer lab and into the modern era.


