
07:59
My name is Steve Vasiloff, and I have been teaching high school CAD classes for 19 years, the bulk for Career and Technical Education (CTE), and Project Lead the Way (PLTW) engineering classes.
I used traditional desktop software for the first 16 years of my career as a teacher. I’ve taught in two very different school districts, most recently at Saline High School in Michigan, and built strong programs at both. As the PLTW program at the school evolved, teachers from different departments were brought in to teach PLTW classes, and I took on the role of teaching traditional desktop CAD to those teachers.
Then, the pandemic hit, and accessibility became everything.
I frantically searched the internet to find something to ensure that our PLTW courses and my CAD classes could be taught with the same rigor when I ran across Onshape.
It was a career-defining moment for me and can be for you, too.
The Power of Onshape for PLTW Engineering
The Project Lead the Way program is a series of modules, units, or courses available for elementary, middle, and high schools that focus on applied learning experiences, specifically in STEM disciplines. The PLTW Engineering curriculum uses CAD software in the two foundational courses in the engineering pathway: Introduction to Engineering Design (IED) and Principles of Engineering (POE).
The courses were initially designed to be taught using traditional desktop software. Yet, I believe using a browser-based CAD platform like Onshape can take the PLTW curriculum to the next level for teachers and students.
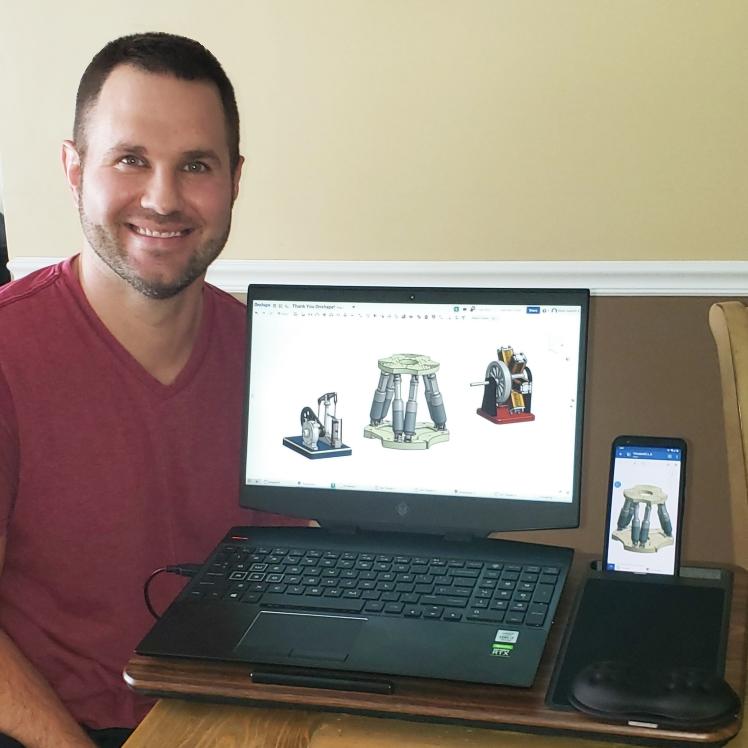
Me in 2019 using Onshape. (Photo courtesy of Steve Vasiloff)
Introduction to Engineering Design (IED)
Teaching PLTW: Introduction to Engineering Design can be intimidating under any circumstances or environment.
No matter what you emphasize in the content, the curriculum requires a strong understanding of CAD. There are four units, each with three or four lessons, and almost every single one involves CAD software.
I remember going to PLTW Core Training for IED over a decade ago and feeling so lucky that I already had an extensive CAD background. Yet, I realized quickly that this was not the case for the other teachers there, which is still the case today.
Many teachers brought in to teach PLTW classes worked as math and science teachers, with this being their first exposure to modern CAD software.
When they realize that the curriculum revolves around CAD software, familiar feelings for an educator can creep in: Something new to learn. Something else to integrate. Another prep to teach. Something to have to try and make time for. Starting over. Groan.
Principles of Engineering (POE)
The same stands true for teaching PLTW: Principles of Engineering.
Same as IED, there are four units in the curriculum, with three or four lessons in each unit. The units are Product Design and Development, Designing Infrastructure and Developing Sustainability, Mechanical Design, and Application of Robotics.
When I first read through the learning objectives from each lesson, I realized that incorporating CAD software could enhance and reinforce the learning objectives.
But again, teachers with a strong CAD background would have an advantage, while those who don’t have CAD knowledge might struggle, and many teachers can feel overwhelmed and underprepared while teaching a new class.
Three Pillars of Success: Accessibility, Resources, Collaboration
Yet, teaching PLTW classes doesn’t need to be daunting, and neither does switching CAD software.
At the onset of the pandemic, everyone struggled to teach their classes, and almost no one could do so with the same rigor. Despite this, switching to Onshape allowed me to do so and take my programs to the next level and rise above stagnation.
The same happened for the other PLTW teachers in our building as time passed. This occurred because of three main reasons: the accessibility, the resources, and the opportunity to collaborate that Onshape provides.
Accessibility
When teaching with traditional desktop software, students and teachers struggled to access the software outside of the classroom, which impacted learning.
While students and teachers could download educational versions at home, many didn’t have a computer to run the software. They were especially out of luck if they had a Chromebook or a Mac. If they had access to a PC, it had to meet the minimum system requirements. Those with access at home had to have a flash drive or cloud storage to transfer files back and forth every day to work on the same project from multiple locations.
It wasn’t until I switched to Onshape that I realized how much our desktop system lowered our ceiling, as most of my students only had time together in the classroom to learn and work. Once we switched, accessibility became a driving force instead of a roadblock.
With Onshape being accessible on any device with an internet connection, including PCs, Macs, Chromebooks, tablets, and smartphones, my students and I could access the software from anywhere. Work no longer had to be completed during the class period, and learning could occur inside and outside the classroom.
This not only stands true for students but for teachers as well. We used to have to carve out time to meet in my classroom so I could teach CAD best practices, but now we could develop from anywhere and discuss what we had encountered at any time.
Learning Resources
Students who want to go deeper into the curriculum and truly master their skills now have an opportunity to do so through the resources available through the Learning Center, a free and built-in resource within the software that contains over 150 free and self-paced tutorials created by the makers of Onshape.
This also applies to teachers, who can use the Learning Center to get started or improve their CAD skills, but also how to best utilize Onshape as an instructor and use it to drive instruction.
Inside the Learning Center, a section called Educator Resources exists to provide teacher tips and recommendations for best organizing Onshape for classroom use. This includes how to get your students signed up for Onshape, distribute and receive student work, and use teams and folders to separate work for multiple classes.
For more information on this, read this excellent blog by Nick Cross. If a teacher needs additional support, they can sign up for an Instructor-Led Training, either live or self-guided, with an option for non-English live classes.
Additionally, Onshape provides a curriculum called Intro to CAD and another called CAD Drawings, which significantly support the PLTW: IED curriculum.
An example of a PLTW lesson in Onshape.
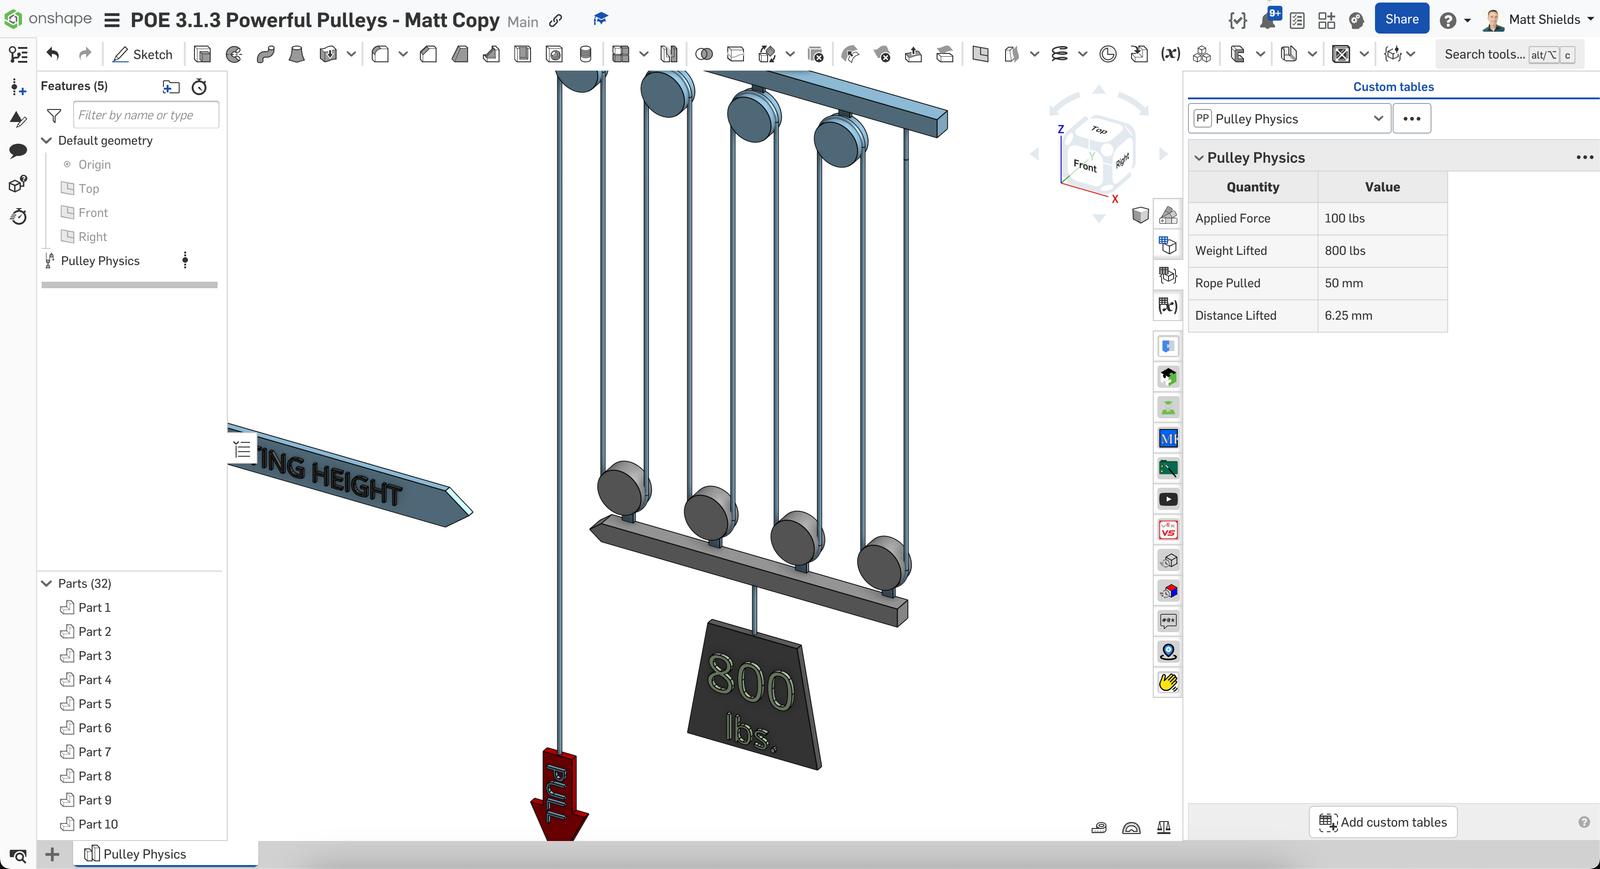
In regard to PLTW: POE, Onshape has provided the CAD for Robotics Competitions curriculum, which compliments many of the POE lessons regarding robotics and manufacturing, as well as access to all of the VEX Robotics components for easy brainstorming and design of robotics systems without having to model all the parts yourself!
Just head over to the App Store in Onshape and add the VEX V5 Parts Library by Felix Deng!
Collaboration
In the first 16 years as a CAD and PLTW teacher, one area that I was always lacking was collaboration.
My students came in, sat at their computers, completed their work, and left. When I did collaborative projects with my classes, I found myself in a constant state of file management and transfers.
Having students work on a group project was cumbersome, and the frustration with managing files often led to one person taking on the bulk of the work just to avoid the back-and-forth of making changes, modifications, and revisions. I can imagine that this could occur often in industry as well.
A project I used in IED for several years required a group of students to reverse engineer and model different parts of a toy car and then assemble them in an assembly. It was very rare that the parts lined up or fit, which was a great part of the lesson.
What wasn’t a great part was swapping files, updating parts and components, and the time between a student creating a part and realizing it doesn’t fit properly with others.
Onshape also took care of this problem for me, as it allows students and teachers to share and work on all aspects of a Document simultaneously.
Students can, in real-time, work on an assembly simultaneously. They could determine whether or not something would fit by comparing their geometry before creating the model, ensuring a correct fit without having to transfer or open a single file.
They truly spent their time collaborating instead of constantly revising.
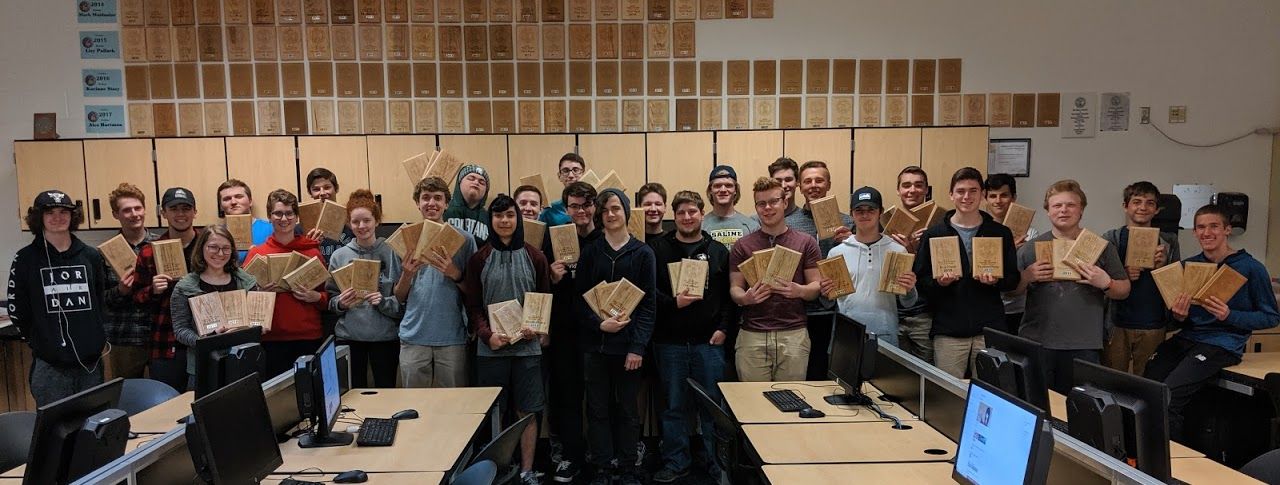
In 2019, my students came home from a STEM competition with plenty of bragging rights. (Photo courtesy of Steve Vasiloff)
A New Era in CAD Education
While teaching new software or a new class can be stressful, it doesn’t have to be. Whether flying solo or working with a team of teachers, Onshape provides a safety net for you and your students through its accessibility, resources, and collaborative abilities.
In time, I believe you’ll experience what I have with my programs after switching to Onshape: improved learning, collaboration, outcomes, and success for both students and teachers.
Get Started with Onshape Education
Onshape for Education brings CAD out of the computer lab and into the modern era.
(Steve Vasiloff is an Onshape Educator Ambassador and teaches CAD classes at Saline High School in Michigan, as well as Career and Technical Education CAD for the South & West Washtenaw Consortium. He has been teaching CAD for 19 years and loves competing at state and national competitions like SkillsUSA. He also enjoys coaching and spending time with his family. To learn more about me and my programs, feel free to check out his website.)
Latest Content

- Case Study
- Industrial Equipment & Machine Design
Reframe Systems: Transforming Homebuilding with Digital Automation and Cloud-Native Onshape
09.25.2025 learn more
- Blog
- Becoming an Expert
- Assemblies
- Simulation
Mastering Kinematics: A Deeper Dive into Onshape Assemblies, Mates, and Simulation
12.11.2025 learn more
- Blog
- Evaluating Onshape
- Learning Center
AI in CAD: How Onshape Makes Intelligence Part of Your Daily Workflow
12.10.2025 learn more
- Blog
- Evaluating Onshape
- Assemblies
- Drawings
- Features
- Parts
- Sketches
- Branching & Merging
- Release Management
- Documents
- Collaboration
Onshape Explained: 17 Features That Define Cloud-Native CAD
12.05.2025 learn more


