


00:45
Designs evolve over time, involving many design iterations. To manage these iterations, Onshape has built version management into its core. Saving a version to capture a milestone in your design is simple. But how can we compare these different versions created over time? With a recent update, Onshape added the Compare command.

Compare is a great way to get both a list and a visual reference of all the changes between Versions, Workspaces, or even moments in History in a Part Studio. To use Compare, select the Compare command from the dropdown menu in the Versions Manager or History menu.

The Compare command gives both a visual, as well as a list-based comparison. This allows you to not only see the changes in the graphics, but also see the specific differences in features between the two versions you are comparing.
Explore more Tech Tips to get the most out of Onshape's intuitive CAD platform.

The Onshape Learning Center
Take self-paced courses, get technical briefings, or sign up for an instructor-led training session.
Latest Content
- Blog
- Becoming an Expert
- Assemblies
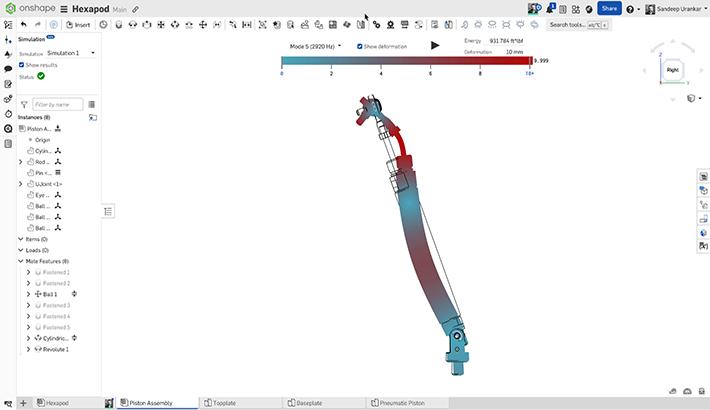
- Simulation
Mastering Kinematics: A Deeper Dive into Onshape Assemblies, Mates, and Simulation
12.11.2025 learn more
- Blog
- Evaluating Onshape
- Learning Center
AI in CAD: How Onshape Makes Intelligence Part of Your Daily Workflow
12.10.2025 learn more
- Blog
- Evaluating Onshape
- Assemblies
- Drawings
- Features
- Parts
- Sketches
- Branching & Merging
- Release Management
- Documents
- Collaboration
Onshape Explained: 17 Features That Define Cloud-Native CAD
12.05.2025 learn more


