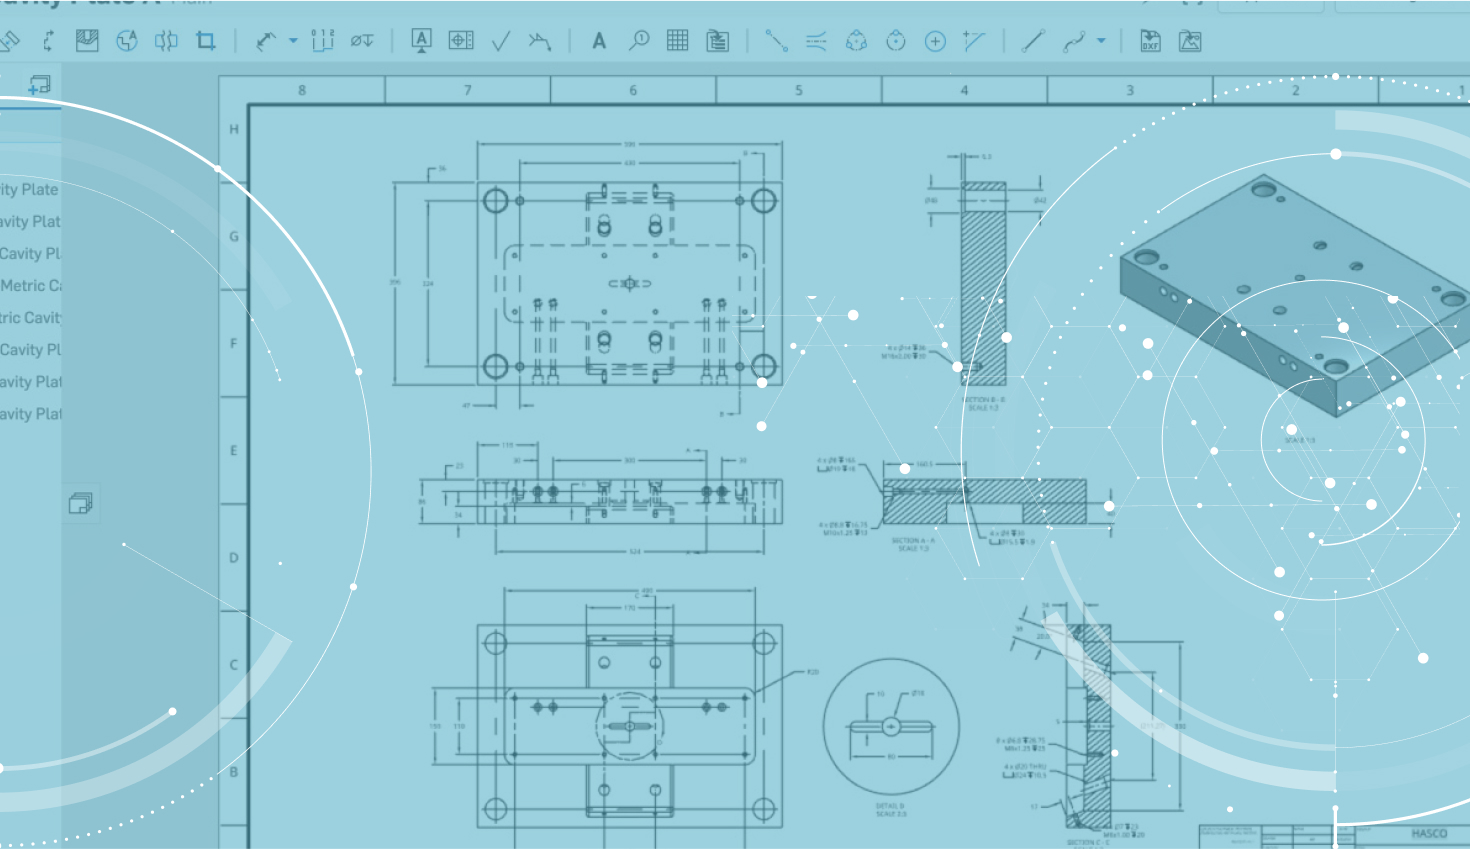
Onshape’s last update of 2018 brought some major drawing view improvements including crop views, and broken-out section views. Let’s take a closer look at how to create broken-out section views.
Creating broken-out section views is simple. Start by clicking the broken-out section view icon in the toolbar.
Then sketch a closed spline profile that defines where you want your broken-out section view.

If you need to add additional points to your spline, click the Spline point feature in the Broken-Out Section View command.
After you’ve sketched your closed spline profile, you then need to select the depth of your broken-out section view. You can do this by entering a blind value or you can use the “Up to entity” option and specify a point on a different view as a reference for your depth.
And that’s all it takes to create broken-out section views in Onshape. Give it a shot!


