


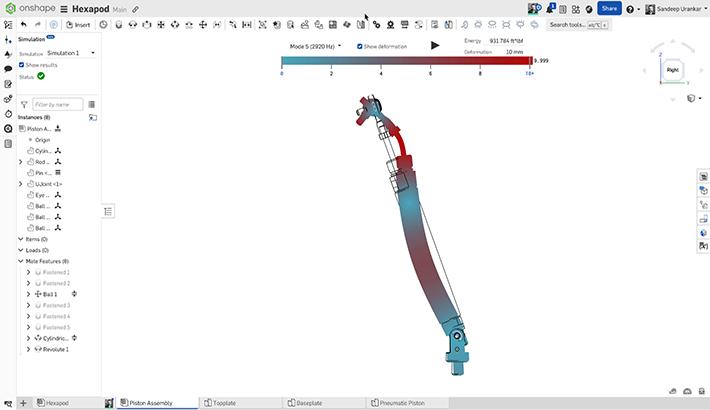
When modifying an Onshape Document, the most recent change determines the thumbnail image. As a result, this image may not accurately represent your project or be practical for browsing company data. Luckily, it’s easy to select a suitable Document thumbnail.
Pro Tip: Organize your Documents using Filters & Labels.
How to Change Default Thumbnails

To change the thumbnail, open the Document, right-click a tab, and click “Select as document thumbnail”. Now you can display a preferred Part Studio or Assembly image. Or choose an uploaded image such as a product rendering.
Keep in mind that selecting the thumbnail requires edit permissions. Additionally, the default behavior returns if the selected tab is deleted or moved to another Document.

Specifying a thumbnail simplifies browsing the Documents page and makes your company’s Onshape data more engaging and colorful. Watch the video below to learn more.
Interested in learning more Onshape Tech Tips? You can review the most recent technical blogs here.
Latest Content
- Blog
- Becoming an Expert
- Assemblies
- Simulation
Mastering Kinematics: A Deeper Dive into Onshape Assemblies, Mates, and Simulation
12.11.2025 learn more
- Blog
- Evaluating Onshape
- Learning Center
AI in CAD: How Onshape Makes Intelligence Part of Your Daily Workflow
12.10.2025 learn more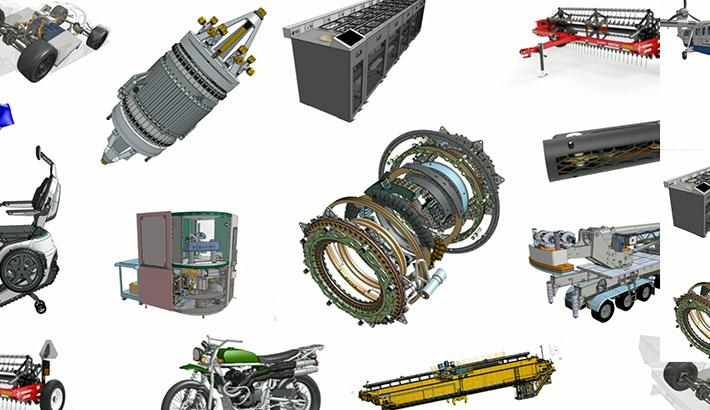
- Blog
- Evaluating Onshape
- Assemblies
- Drawings
- Features
- Parts
- Sketches
- Branching & Merging
- Release Management
- Documents
- Collaboration
Onshape Explained: 17 Features That Define Cloud-Native CAD
12.05.2025 learn more


