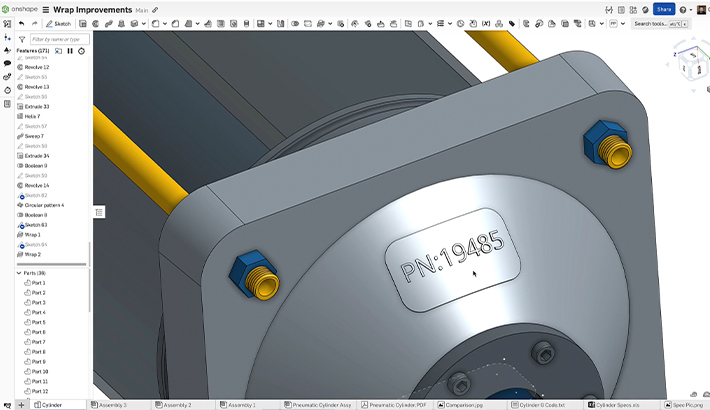
When you are creating parts for injection molding, you must be very careful about draft to ensure your parts are easily removed from a mold. As parts become more complex, it is difficult to prevent unintentional undercuts. Draft analysis makes this simple by providing visual feedback on the draft status of each face.
To access “Draft analysis,” select it from the View menu on the right side of the model window.

If this is the first time using the tool for the current Part Studio, the dialog will pop up.
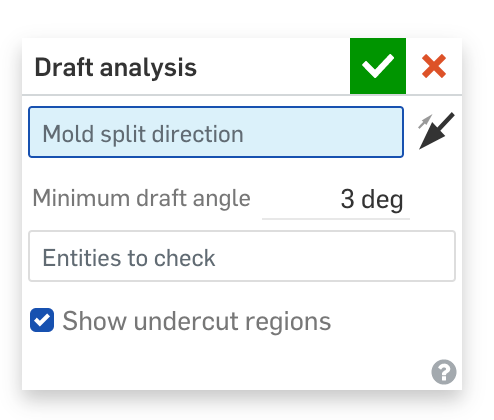
You must select a plane or planar face to define the mold split direction, the minimum draft angle, and the entities to apply the analysis to. Multiple entities can be checked at the same time to allow you to evaluate both sides of the mold at once. You can also choose to show or hide undercut regions.
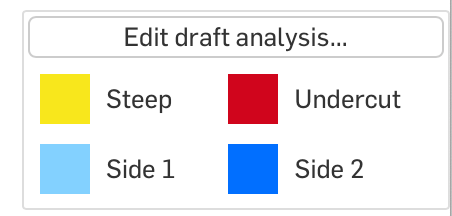
Light blue indicates Side 1 or positive direction, while dark blue is Side 2 or negative direction. Yellow indicates the draft is too steep, meaning it is less than three degrees. Red indicates an undercut that you may have to design a slider for in the mold or must eliminate completely. This legend will always show in the bottom right corner while draft analysis is on. You can also modify the settings by using “Edit draft analysis…”
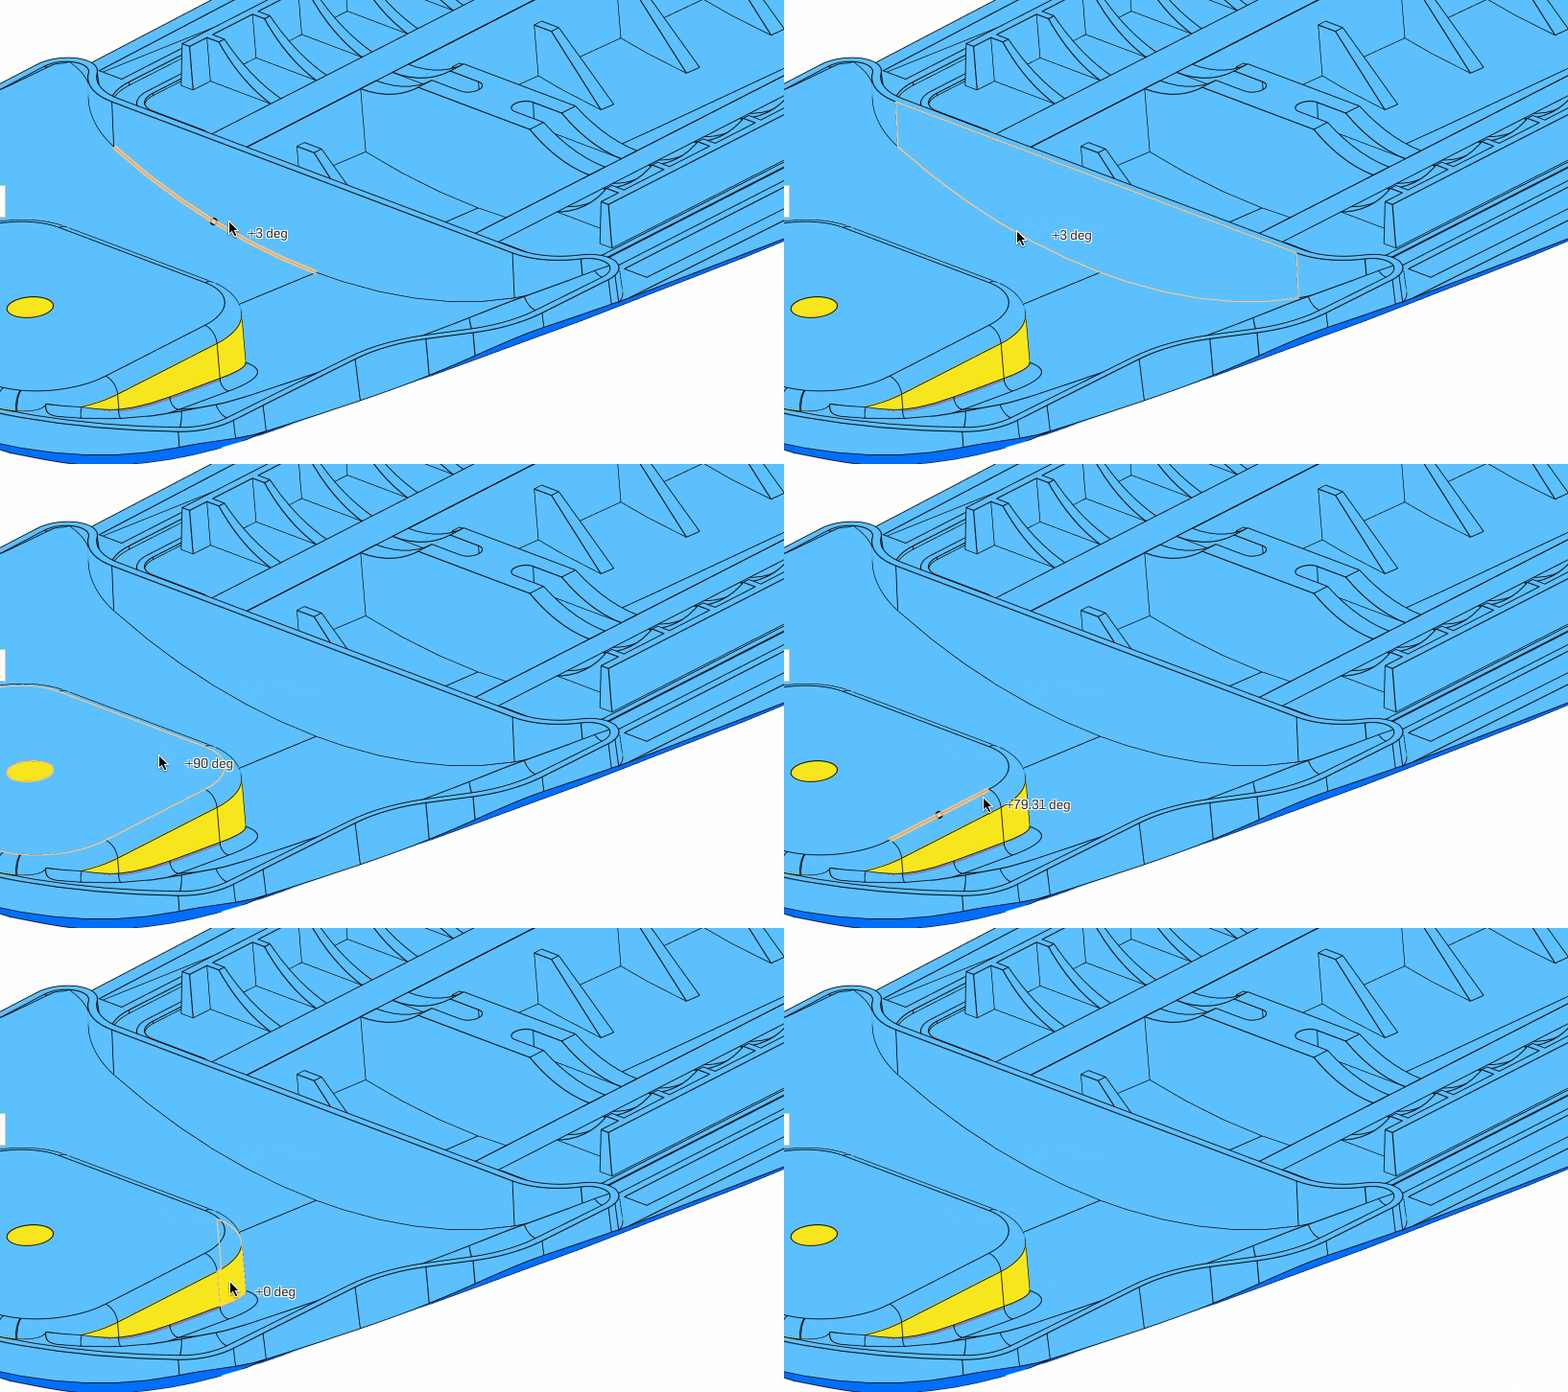
On the back cover of the GPS unit below, there are a few steep faces that need drafting:
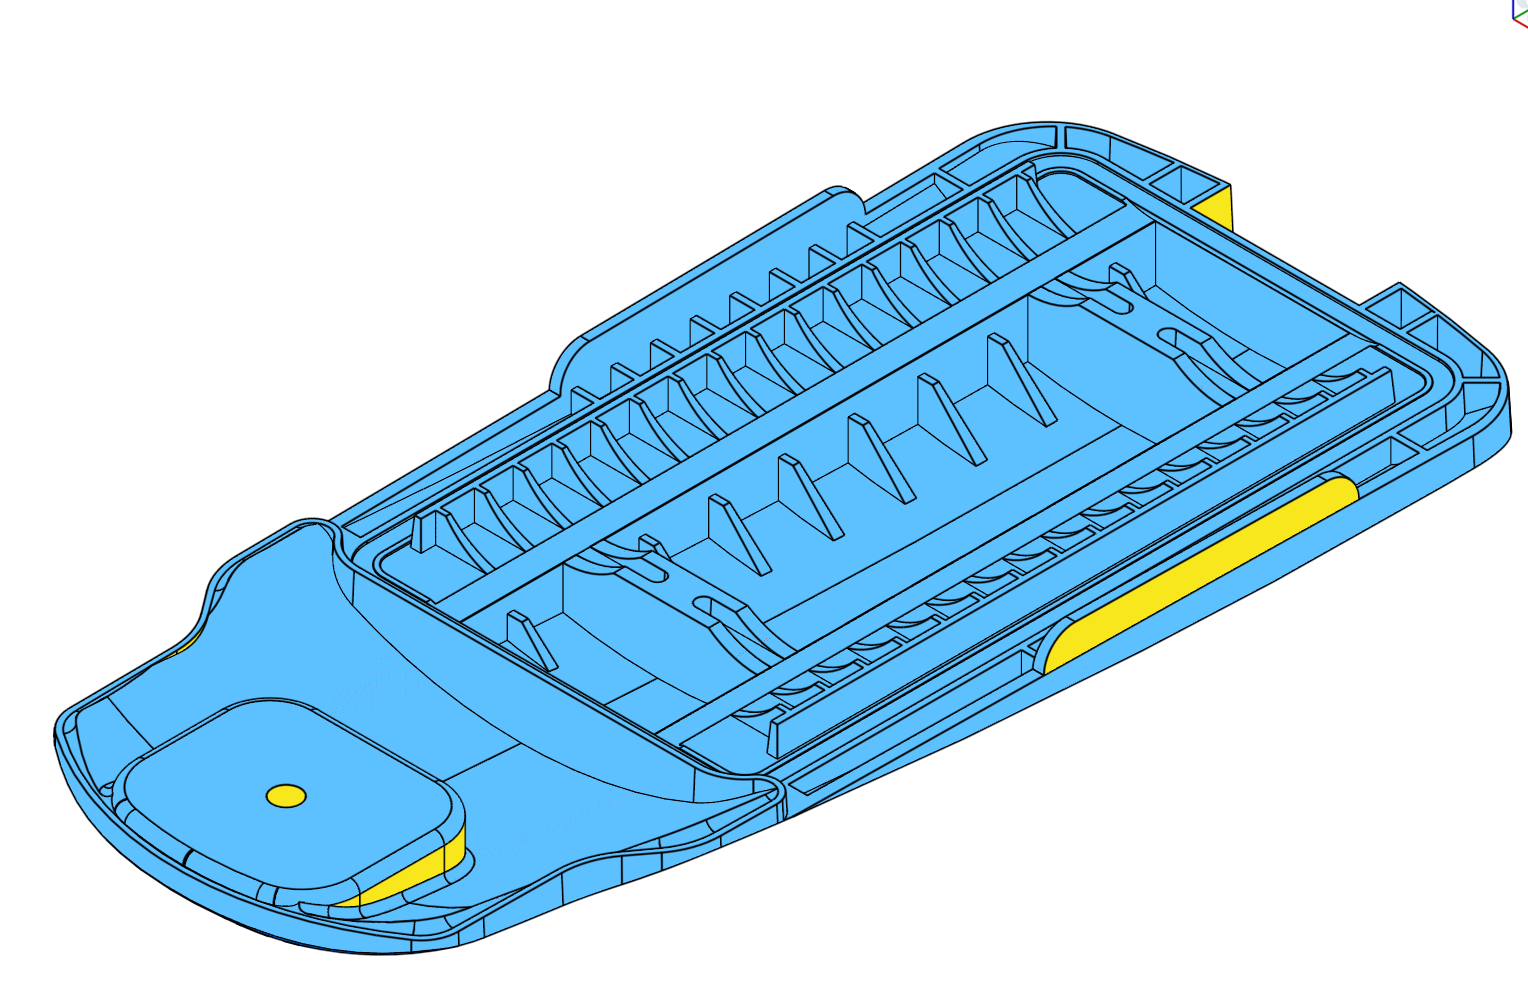
Draft analysis will stay on until you explicitly turn it off from the View menu. You can mouse over faces on the part to see their draft angles.
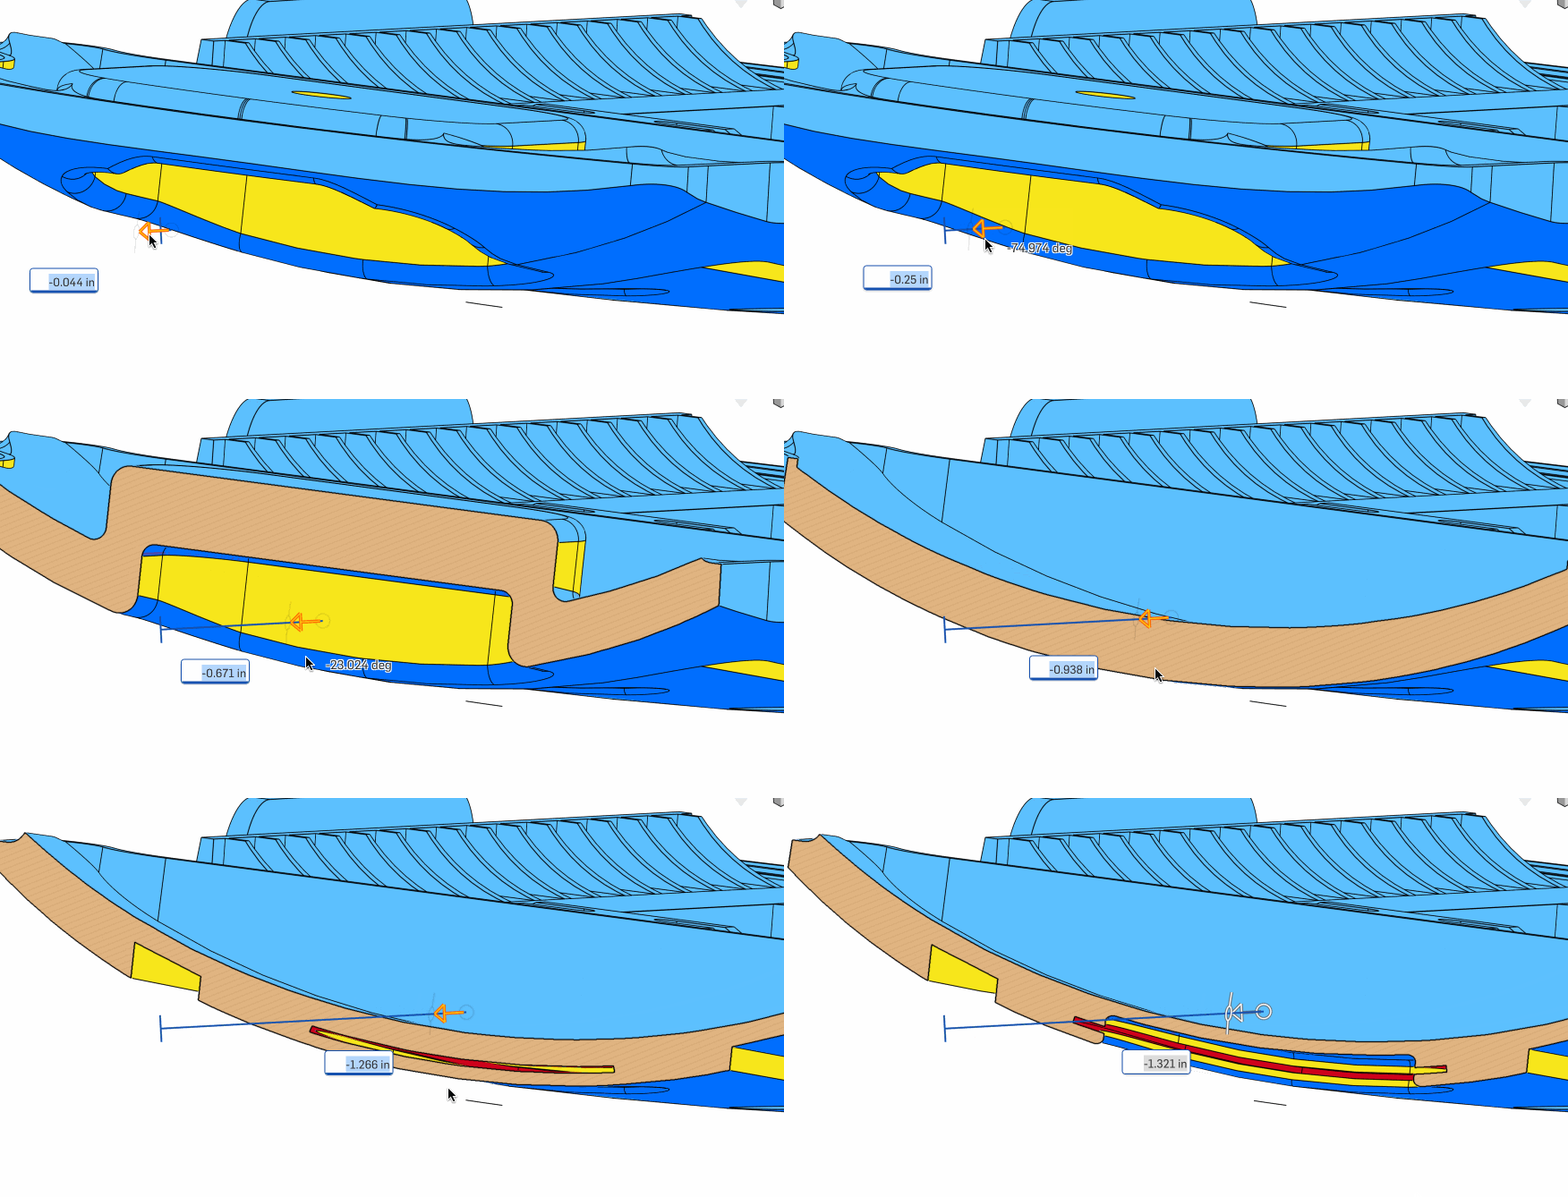
You can even use it in addition to other visualization tools, such as the section view. There is an undercut hidden in the bottom of the cover that would be difficult to see without the section view.
Now that the problem faces are identified, you can fix features while the draft analysis updates in real time.

Draft requirements are made simple with Onshape’s draft analysis tool.
Interested in learning more Onshape Tech Tips? You can review the most recent technical blogs here.


