1:08
The most recent Onshape update delivered the ability to measure drawings in Onshape. This is great for anyone who works with 2D drawings day to day. Let’s take a closer look.
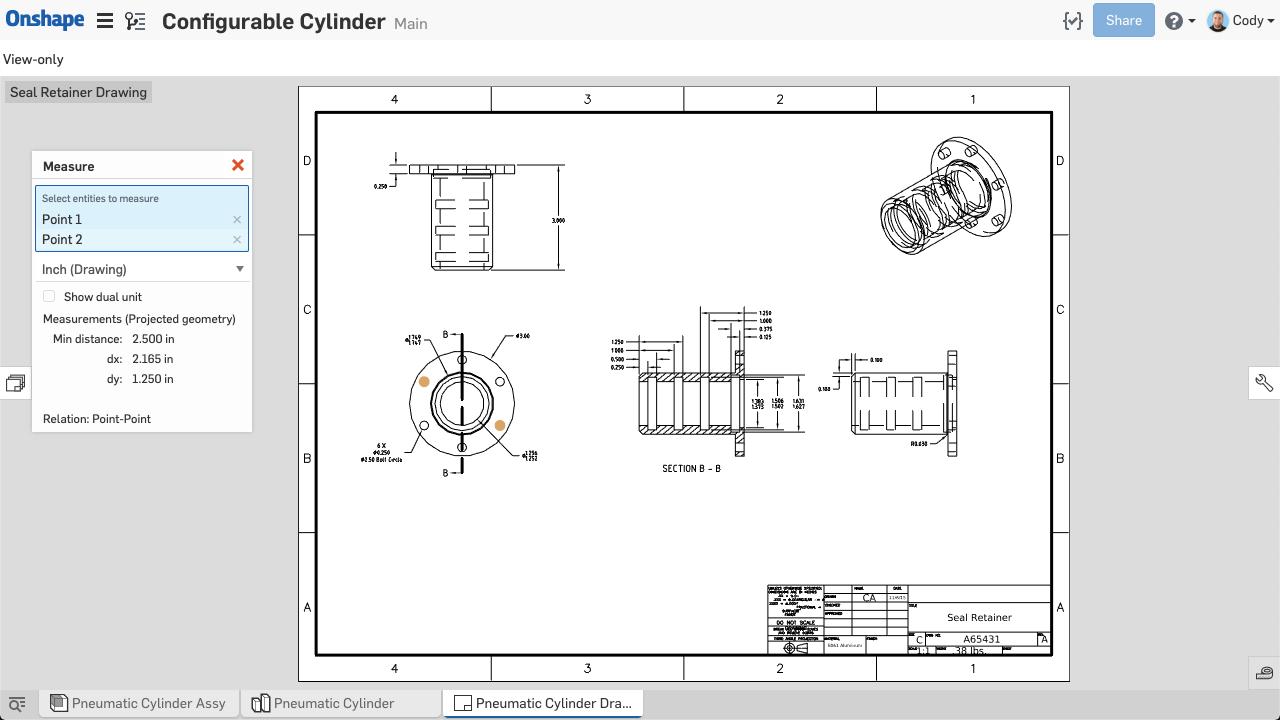
To measure in Onshape Drawings, click the Measure icon in the bottom right-hand corner of the screen, just as you would in a Part Studio or assembly.
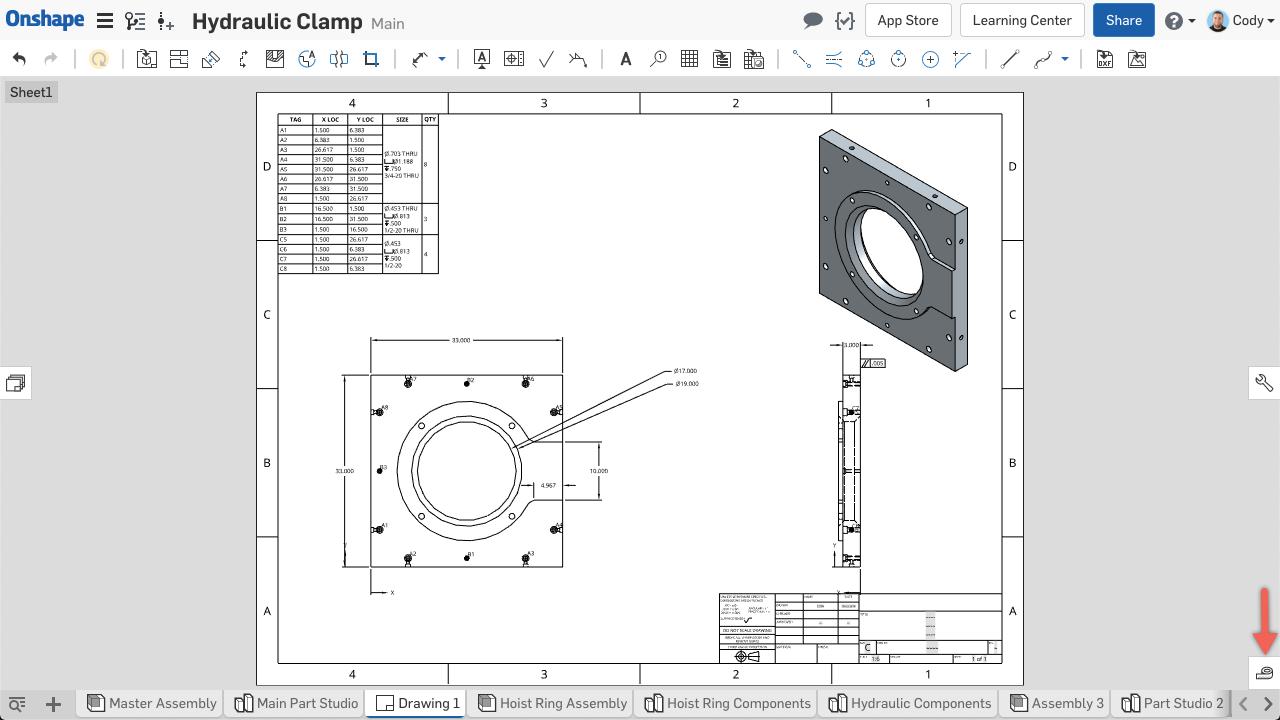
Then the Measure dialog will appear and you can left-click on what you want to measure.

In the Measure dialog, you also have options to change units and show dual units.
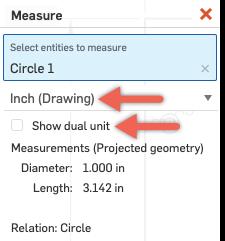
You can select any combination of edges and points to get the measurement you are looking for. Much like measuring in the Part Studio or assembly, Onshape is smart enough to show the relevant dimensions based on the selection. So for example, if you select a circular edge and a linear edge for a measurement, you are given not only the center distance, but the min and max distance as well.
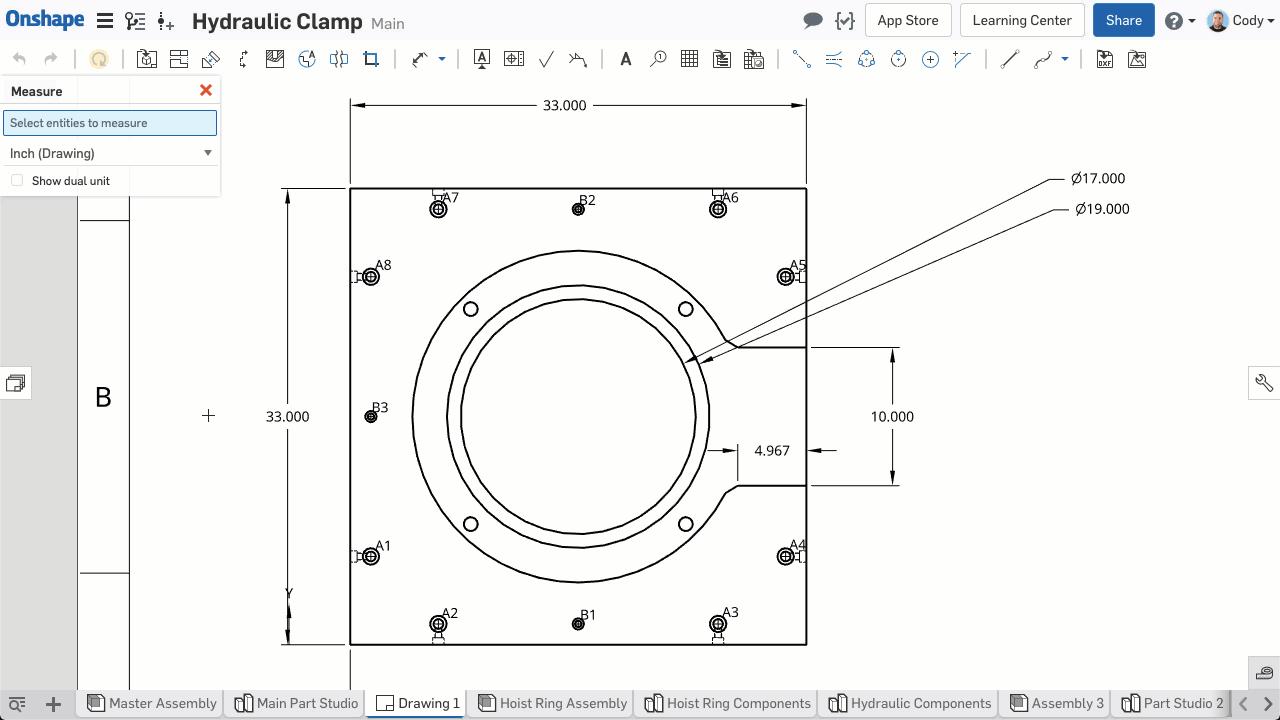
One final note regarding Measure in Onshape Drawings is that it also works for those who only have view-access to the drawing. This is great for those manufacturers or vendors who need a measurement and prefer to work in drawings.
So that’s it! Give this new functionality a shot and share it with anyone who is looking for an easy-to-follow tutorial on measuring drawings.
Latest Content
- Blog
- Becoming an Expert
- Assemblies
- Simulation
Mastering Kinematics: A Deeper Dive into Onshape Assemblies, Mates, and Simulation
12.11.2025 learn more
- Blog
- Evaluating Onshape
- Learning Center
AI in CAD: How Onshape Makes Intelligence Part of Your Daily Workflow
12.10.2025 learn more
- Blog
- Evaluating Onshape
- Assemblies
- Drawings
- Features
- Parts
- Sketches
- Branching & Merging
- Release Management
- Documents
- Collaboration
Onshape Explained: 17 Features That Define Cloud-Native CAD
12.05.2025 learn more


