2:19
Rotating an object in 3D space within Onshape is easy. You probably do this dozens (if not hundreds) of times a day. Explore the different ways to achieve 3D rotation and how to set your default preferences.
Unconstrained 3D Object Rotation
Rotating an object in 3D space within Onshape is easy. Hold the right mouse button down and drag. Release the right mouse button to stop rotation.
As the model rotates, it flips and turns all over the screen. The point of view is held still, and the model is rotated “in front of you.” In many day-to-day modeling scenarios, this is fine for flipping the object over to add another feature or insert and mate another part in place. This rotation method is unconstrained in all directions.
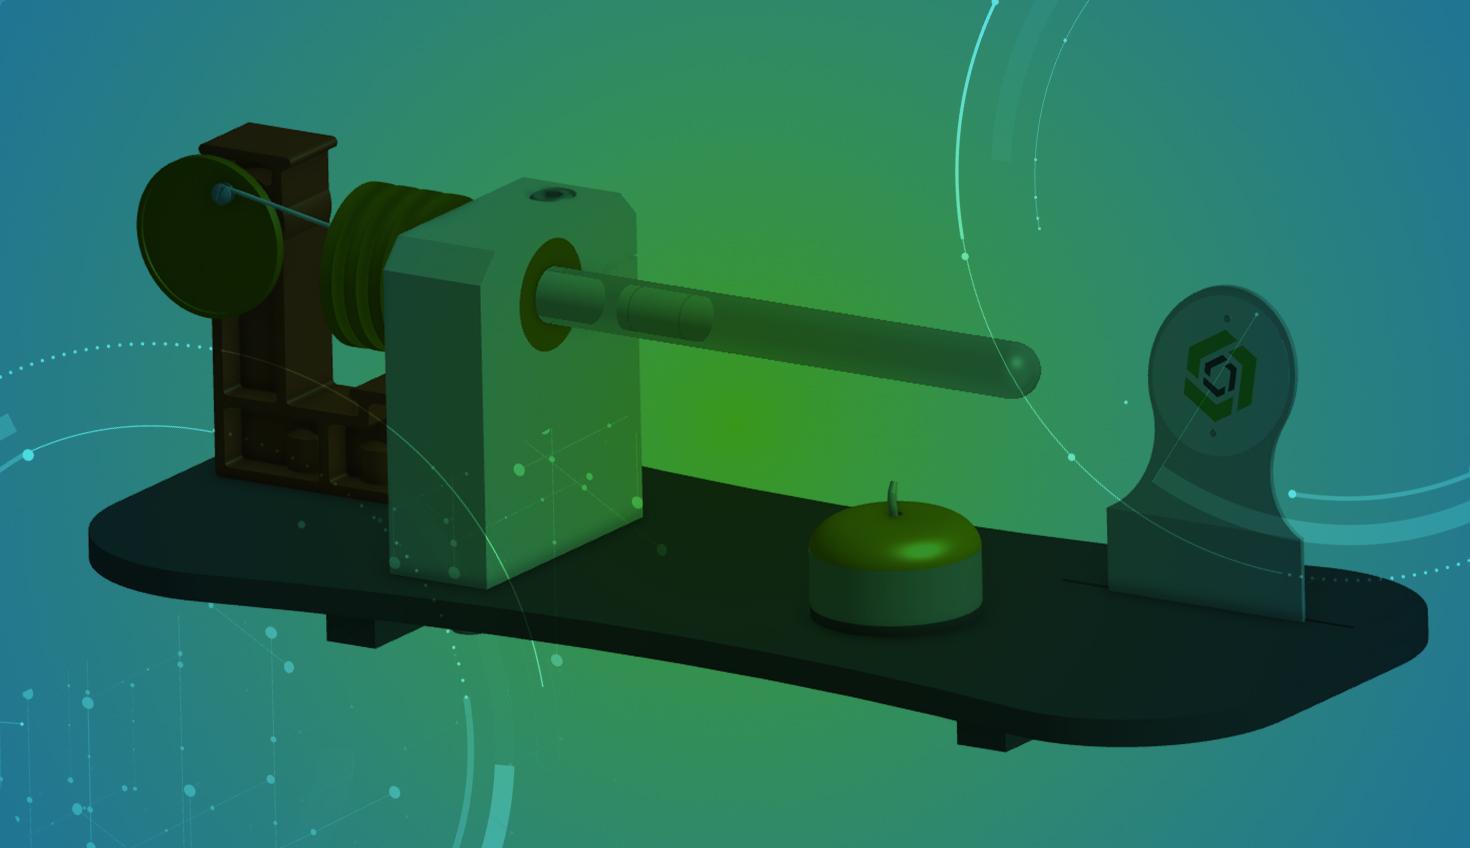
However, the model of an engine desktop toy clearly has a base. In real life, this object sits on a table, and gravity keeps it fixed in place. What if you wanted to rotate the model but keep it constrained along its vertical axis on top of the table?
Constrained 3D Object Rotation
In Onshape, you can rotate the object while keeping its vertical axis upright. Hold the Alt key (Option key for Mac) while dragging with the right mouse button. Release the right mouse button to stop rotation.
In other CAD systems, this is called a “constrained orbiting” or “rotation about the scene floor.” Your regular rotation behaves like you (the camera) are standing still, and the object rotates freely around each axis in front of the lens. In contrast, Alt+Rotate behaves like the camera is on a boom and “flying around” to get a different angle while the object stays stationary.
The difference might seem subtle, but this rotation method is convenient to quickly get the proper orientation without a confusing or disorienting flip occurring. Imagine that you are designing the automated assembly machine shown below. This machine is mounted to the ground, so it is more practical to view it fixed to the ground as you rotate it. Both rotation methods are shown below for comparison:
Setting User Preferences for Default Rotation
In Onshape, you can set your preference for either rotation method explained above. Use the drop-down under your account name and choose Preferences:

Leave this checkbox unchecked to use the full rotation method. Check the Set default rotation behavior to constrained rotate to keep object rotation constrained along the vertical axis.
We hope this Tech Tip helped you learn the 2 methods Onshape has for rotating the models and how to set your user preference for their behavior. We have more resources for you to learn about related features, like Mate Connectors.
Interested in learning more Onshape Tech Tips? You can review the most recent technical blogs here.
Friends Don’t Let Friends Use Old CAD!
Know a colleague who could benefit from our cloud-native, fully-featured collaborative design platform?
Latest Content

- Blog
- Becoming an Expert
- Assemblies
- Simulation
Mastering Kinematics: A Deeper Dive into Onshape Assemblies, Mates, and Simulation
12.11.2025 learn more
- Blog
- Evaluating Onshape
- Learning Center
AI in CAD: How Onshape Makes Intelligence Part of Your Daily Workflow
12.10.2025 learn more
- Blog
- Evaluating Onshape
- Assemblies
- Drawings
- Features
- Parts
- Sketches
- Branching & Merging
- Release Management
- Documents
- Collaboration
Onshape Explained: 17 Features That Define Cloud-Native CAD
12.05.2025 learn more


