1:08
Onshape’s unique method for adding mates can save a lot of time compared to the approach often used in traditional CAD. Parts that needed two or three mates to constrain in traditional CAD only need one mate in Onshape. The secret to Onshape mates is the mate connector.
A mate connector is essentially a point with a local coordinate system. In Onshape, we are mating these two points (mate connectors) and then defining their degrees of freedom with the mate type. While in the mate command, you can change the mate selection and animate the degrees of freedom to see the movement between your mate connectors.
The primary axis of the mate connector can be flipped and the secondary axis reoriented with their respective buttons in the Mate command. The Mate command also can create an offset between two mate connectors. The Offset option in the Mate command allows you to add a gap between the mate connectors in a given direction.
To edit a mate connector, expand the mate in the feature list, then right click the mate connector and click “Edit.”
In addition, custom mate connectors can be created for those parts with geometry that can be difficult to mate. Mate connectors can be created at the Part Studio or Assembly level and can make mating parts with odd geometry simple.
Latest Content

- Blog
- Becoming an Expert
- Assemblies
- Simulation
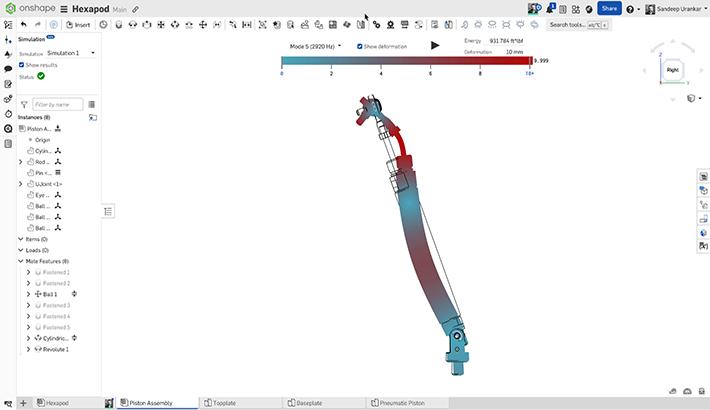
Mastering Kinematics: A Deeper Dive into Onshape Assemblies, Mates, and Simulation
12.11.2025 learn more
- Blog
- Evaluating Onshape
- Learning Center
AI in CAD: How Onshape Makes Intelligence Part of Your Daily Workflow
12.10.2025 learn more
- Blog
- Evaluating Onshape
- Assemblies
- Drawings
- Features
- Parts
- Sketches
- Branching & Merging
- Release Management
- Documents
- Collaboration
Onshape Explained: 17 Features That Define Cloud-Native CAD
12.05.2025 learn more


